There may be times when you have a private application that you want the applicant to be invited to apply to. Only those applicants that are invited to apply would be able to access the application form. All other applicants would not be able to access the application.
Application Invitation allows you to have private applications. To use the Application Invitation feature all the applicants you are inviting to apply must have applicant profiles already created in the system, prior to inviting them. Therefore, you would need to first create applicant User profile accounts for all applicants that do not have a profile.
Important: As soon as the applicant is assigned to the application, an email is automatically sent to the applicant notifying them that they can apply. Make sure to notify your applicants ahead of time, so that they will know to watch for this email invite. This email template is located in the Notification Center for the specific application form and is named Application: Application Invitation.
Note: the Application Invitation can also be used to test an application prior to making it live to your applicant. Once you have tested the application you can then publish it so that it is no longer private.
1.1 Application Invitation Site Setting Setup
Prior to using the Application Invitation Feature, your Global Admin will want to determine the Site Setting option your organization will be using for all applicants invited using the Application Invitation feature. This setting will affect all private applications and is not application specific.
In the Administration dashboard, select the Site Settings>General Settings>Enable Automatic Application Creation Through Application Invitation.
- Selecting “Yes” allows you to invite an applicant and start the application form for the applicant. The applicant would then log in and the application form would be available in their “My Applications” tab and the applicant would then click on the application form to complete it. (If there were pre-qualification questions, the applicant will not have to answer those questions, and will be bypassed to the application form.)
- Selecting “No” allows you to invite an applicant to apply to a specific application form. However, the application will not be automatically started and added to the applicants “My Application” tab. The applicant will have to click on the link in the email and then must log in through that link. Once they login in from the link the application form will appear to them, where they can click the apply button to begin applying to the application form. Once the applicant clicks apply and is directed to that application’s dashboard, the application will then be present in their “My Application’s” tab. (If there are pre-qualification questions, the applicant would have to meet the pre-qualification before accessing the applications dashboard.)
1.2 Application Invitation Invite Setup
Prior to inviting an applicant (or a test applicant) to a private application form, you will need to create applicant profiles for those individuals.
Once all your applicant’s have a user account you can begin assigning those applicant’s to your private application process.
Exercise 1
Step 1: Create your Application Form
Step 2: Setup your funding source and link to the application form. However, Do Not publish your funding source.
Make sure that the Published (Viewable to the Applicant) in the funding source is marked as No.
![]()
Step 3: Select from the Home Page – the Administration icon (If you do not see the Administration Icon on your dashboard you do not have authority to perform this function. Please see your Global Admin for assistance)

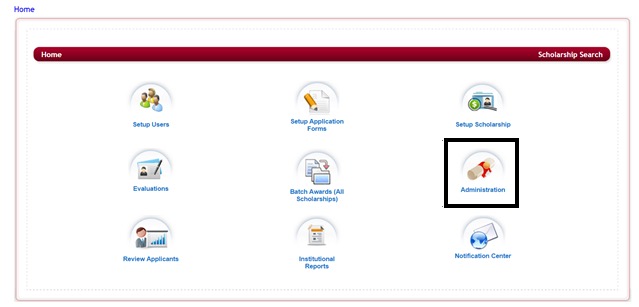
This will open the Administration Dashboard
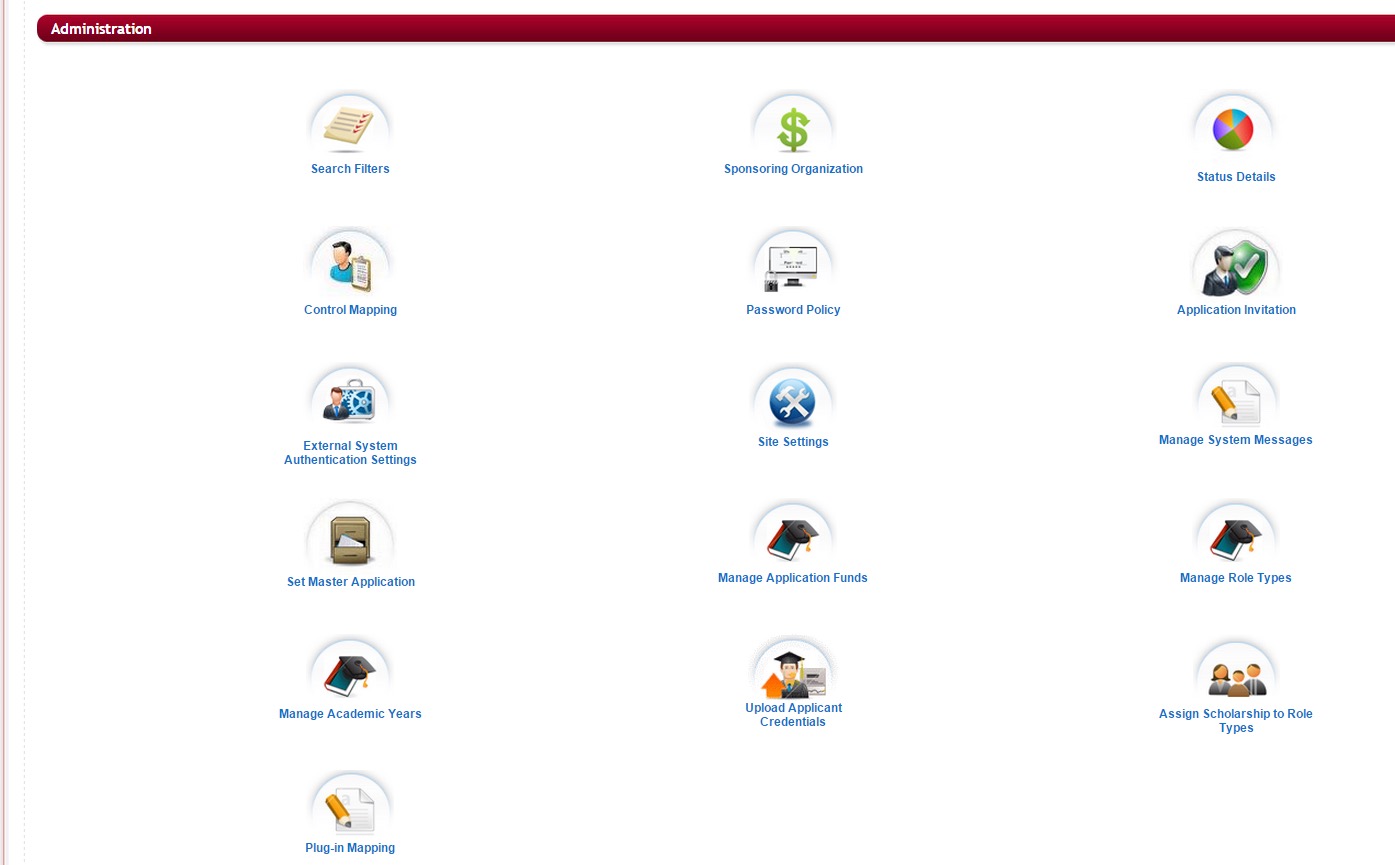
Step 4: Select the Application Invitation icon

This will open the Application Invitation setup page
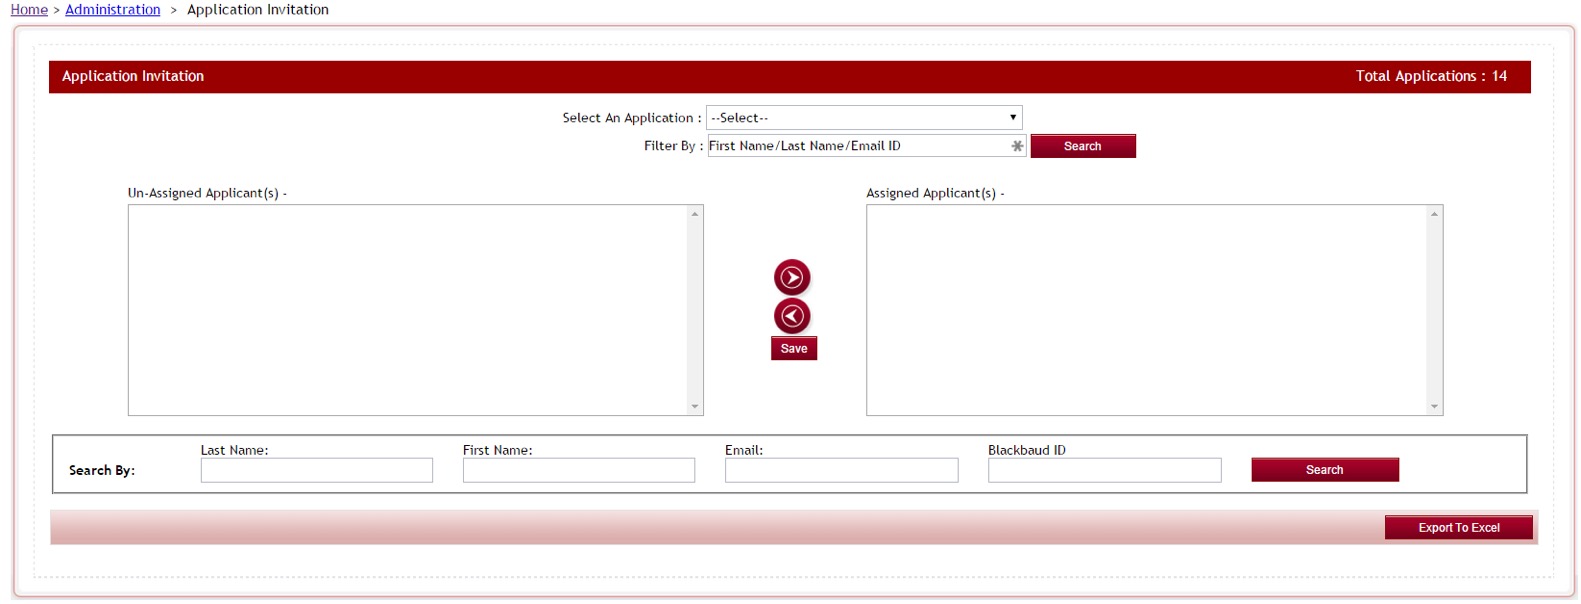
Step 5: Select An Application: Select the Application that you want to invite the applicants to apply to.
Filter By: will default to the First Name/Last Name/Email. Leave this as the filter.
After you have selected your application all the applicant profiles available to invite will populate in the Un-Assigned Applicant(s) box.
Next to the header for each section you will see a number that is the number of applicants, currently listed in each section.
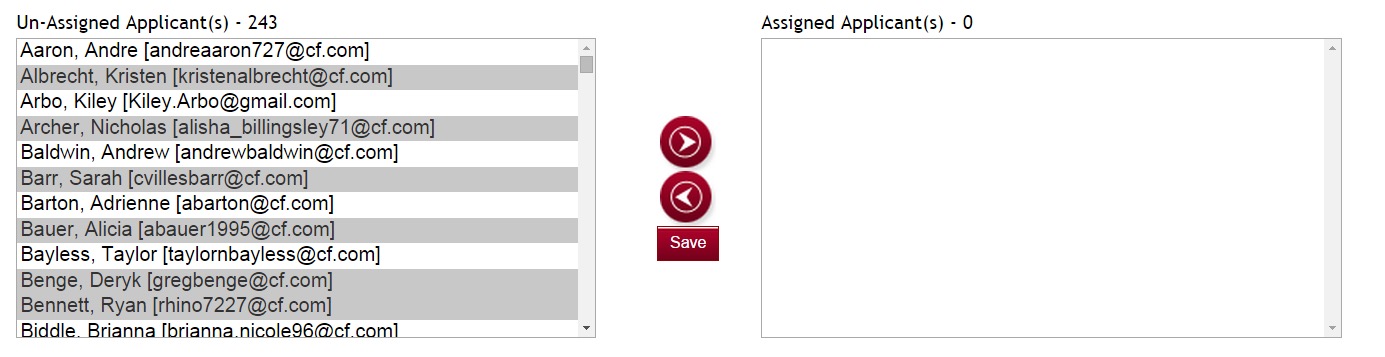
Step 6: Scroll through the listing of applicants and locate the applicants you want to Assign. Select the applicant by clicking on their name. (You can select multiple applicants by holding down your control key on your keyboard while selecting multiple names)
Step 7: after you have selected all the applicants you want to assign and they are highlighted in the Un-Assigned Column. Click the Right Directional arrow to move them to the Assigned Applicants(s) column. Clicking the Left Arrow will move the applicant back to the Un-Assigned column.
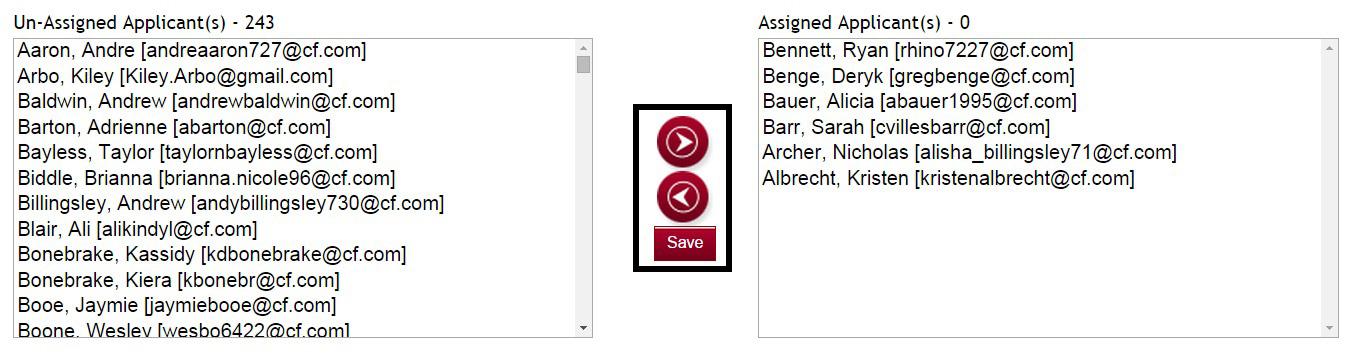
Step 8: Click Save to save the assignments.
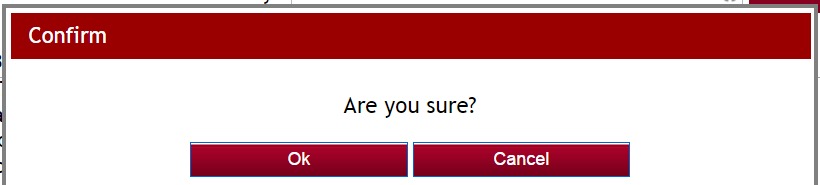
Step 9: You will receive a confirmation, click Ok.
Step 10: Click Ok on the message that they were successfully assigned.
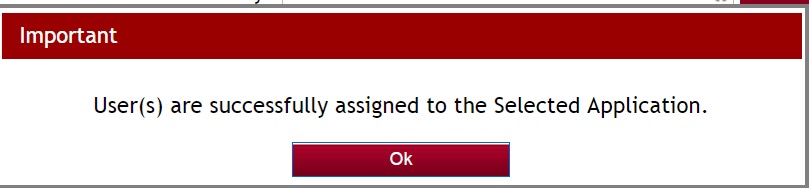
All the applicants that you have assigned to this application will now appear in the bottom section.
An email notifying them that they have been invited to apply will automatically be sent to them.
Step 10: If you would like an excel listing of the applicants that are assigned, click on the Export To Excel and an excel document will open on your local computer. This listing can be helpful to distribute to staff responsible for monitoring the applicants as they apply, so that they have a lising and know what applicants were invited to apply.
Step 11: Once you have made your assignments you can exit out of this screen by clicking on the breadcrumb navigation at the top of the page.
1.3 How does the Applicant Apply using the Application Invitation Method?
1.3.1 Application Invitation Site Setting is set to Yes
Once you assign applicants to a private application in the Application Invitation, an email will automatically be sent to those applicants. (Notification Center> Email template Name>Application: Application Invitation)
In the email there will be a highlighted link that the applicant will click on to be directed to that application.

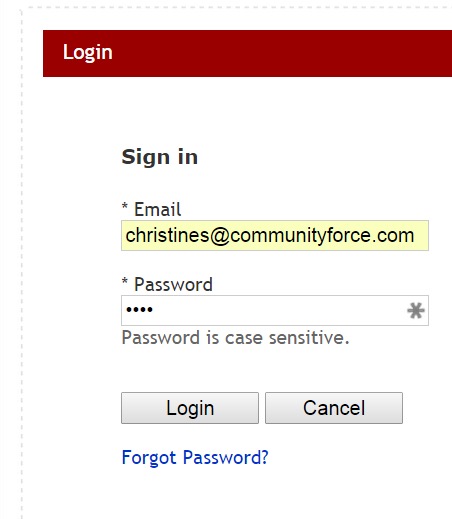
Once the applicant clicks on that link, they will directed to your site’s login page where they will login with their applicant user login.
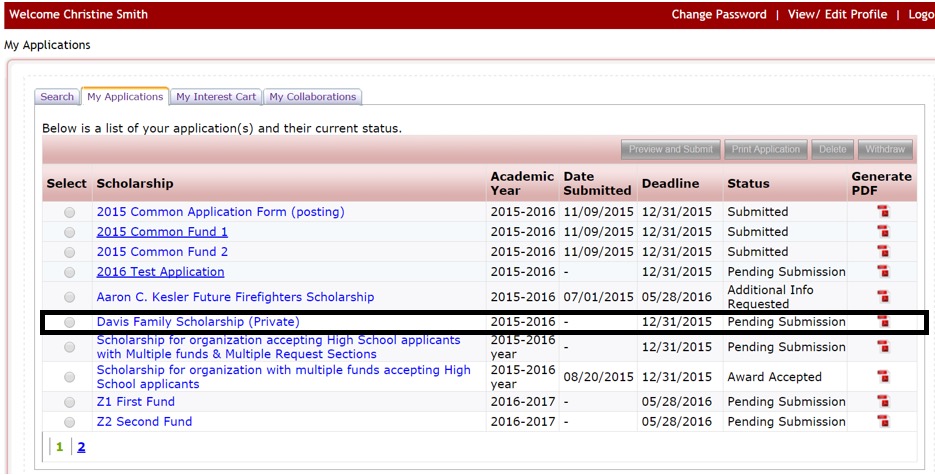
Once they login, the application will appear in the Applicant’s “My Applications” tab with the status of “Pending Submission”. The applicant can then click on the Application Name and complete the application form. (Note: if there are pre-qualification questions on this application form, those questions will not appear to the applicant)
1.3.2 Application Invitation Site Setting is set to No
Once you assign applicants to a private application in the Application Invitation, an email will automatically be sent to those applicants. (Notification Center> Email template Name>Application: Application Invitation)
In the email there will be a highlighted link that the applicant will click on to be directed to that application.
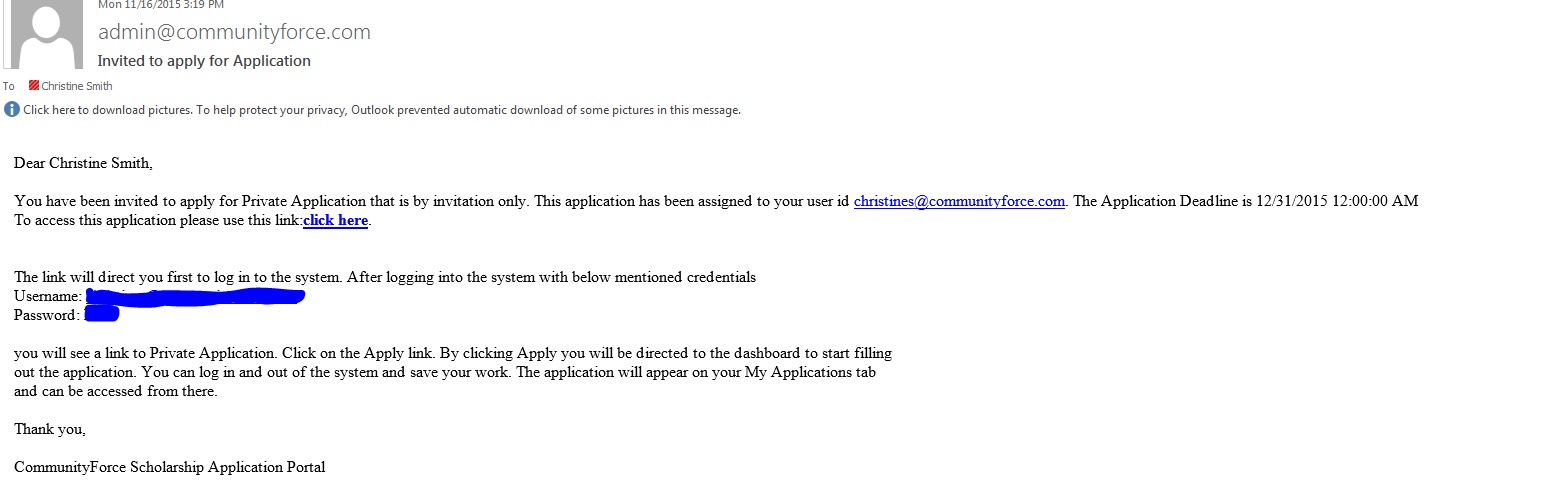
Once the applicant clicks on that link, they will directed to your site’s login page where they will login with their applicant user login.
Important: It is very important that they access this login page using the link and not by going directly to the site to login. The link has special coding attached to it telling the site that once they have logged in, to allow them to view the application. If they try to go directly to the site without using the link, the application will not be available for them to access. After they have accessed it through the link initially, and started the application, they can then go in using the normal login method.
Once they login, the application will appear for them to click the Apply and start the application.
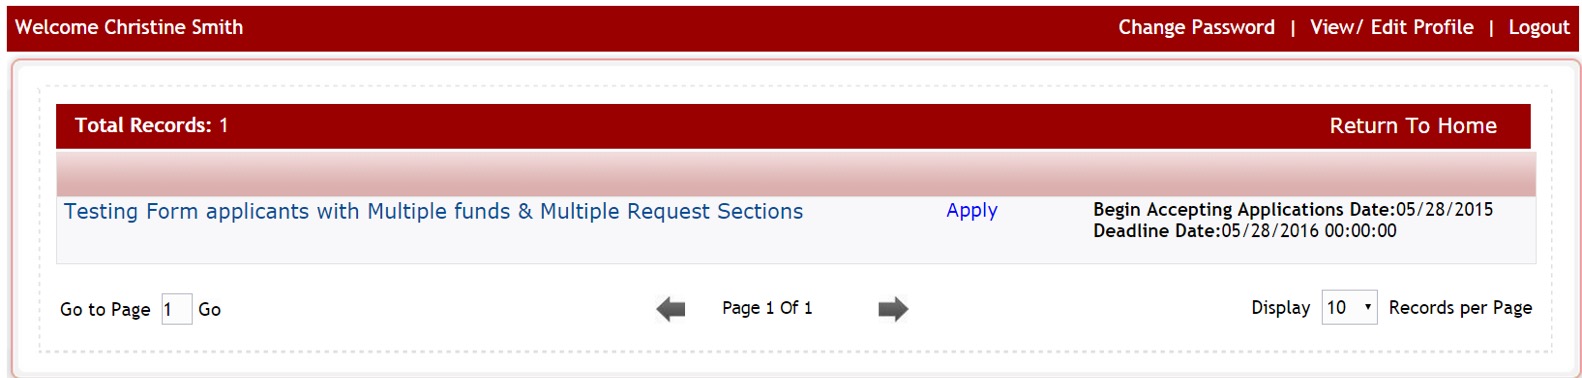
They must click the “Apply” and access the application before they can log out and login using the normal login page.
Once they have started the application, it will appear in their “My Applications” tab on their dashboard, to access going forward.