1.1 Introduction to Review Applicants
Note to Administrator: All role types that will be assigned applicants to review in the evaluation setup process will need to have access to the Review Applicants Icon on their Home Dashboard. If a user profile is created with the Reviewer role type they will automatically be directed to the Review Applicants page and will not have the Icon.
Review Applicants:
Review Applicants allows the applicant reviewer to see the review task(s) assigned to them and the applicants that they have been assigned to review in that task. The applicant reviewer can then click on the applicants they have been assigned to view that applicant’s application form and answer the review questions and/or score the applicants on the required scoring tasks.
1.2 Accessing the Review Applicants Page
Depending on the role type given to you when your user profile was created, when you log in you will be directed either to your Home Dashboard or directly to the Review Applicants page.
Step 1: If directed to your Home dashboard you will need to click on the Review Applicants Icon. (Note: If when logging in you were directed to the Review Applicants page, you will not need to click on this icon as you will already be in the Review Applicants section.)

Step 2: You should now see the Review Applicants page, listing the application and the tasks you have been assigned to review.
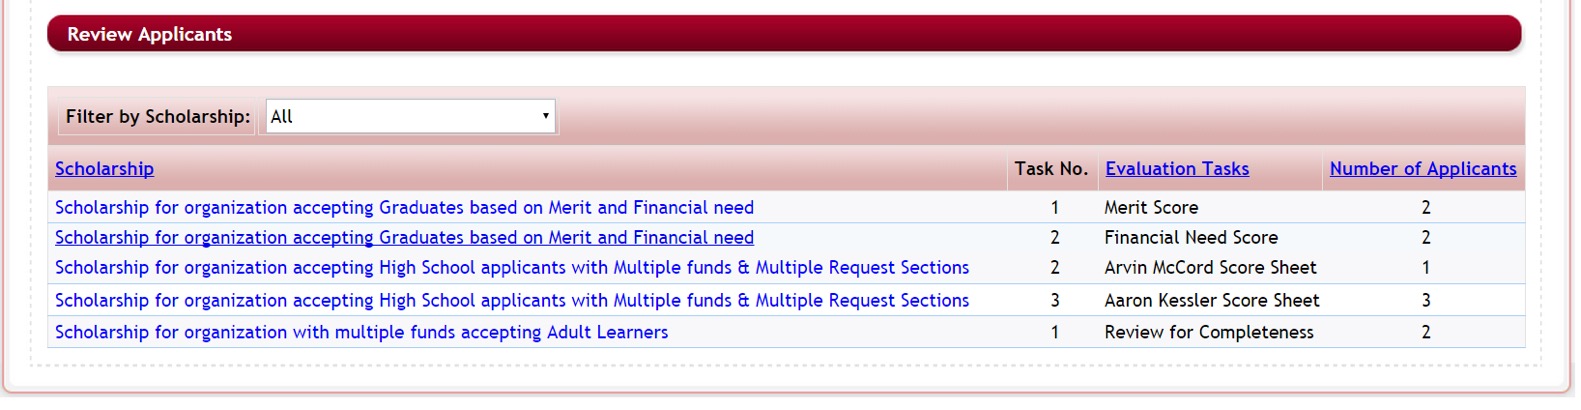
Scholarship (funding source) Name – This is the name of the application form you are assigned to review.
Task No. - There may be multiple tasks involved in the evaluation review process, the Task no. shows the number of the task or sequence that the task appears to the administrators.
Evaluation Tasks – This is the name of the task that is being performed, this may be titled as a specific review committee name, a review step in the process, or the name of the actual funding source you may be asked to review.
Number of Applicants - The number of applicants’ that have been assigned to you for review for the assigned task.
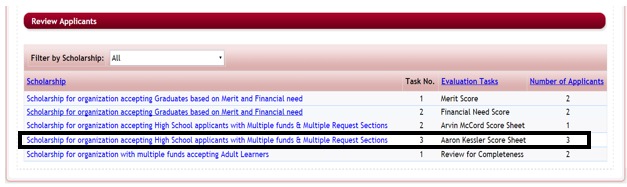
Step 3: To view the applicants you have been assigned in a specific task, click on the Fund (Scholarship) name that is listed in the same row as the task you have been assigned.
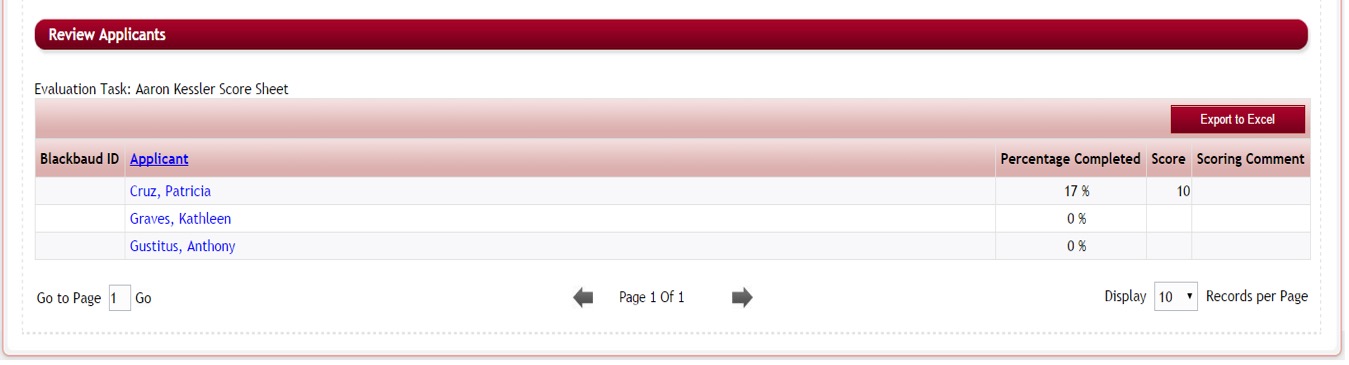
Step 4: This will display the listing of all the Applicants for the specific task assignment.
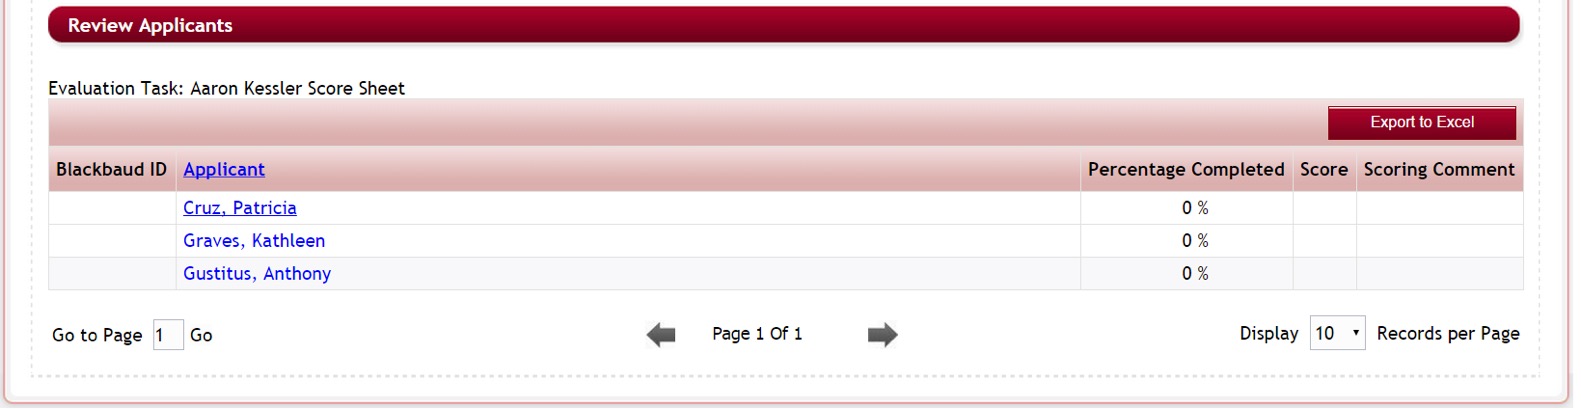
This listing shows all the applicants assigned to you for that Task along with the current Percentage Completed status, the Score you have given them, and the Scoring Comments you made for the applicant if applicable.
You can click on the Export to Excel to open this report in an Excel document and save it to your local desktop.
Each applicant that you have completed will show 100% percent complete. If the percentage does not show as 100% then there is a question that has not been completed in the tasks.
1.3 Reviewing the Applicants’ Application and Score Sheet
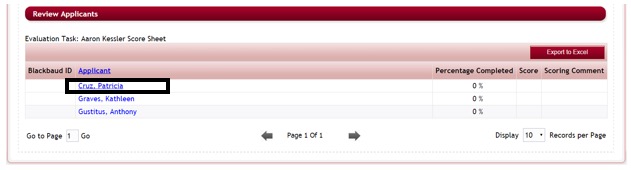
Step 1: To open the Applicant’s Score Sheet for a specific Task. Click on the Applicant’s Name listed in the task.
Step 2: One of the following screens will appear for the applicant:
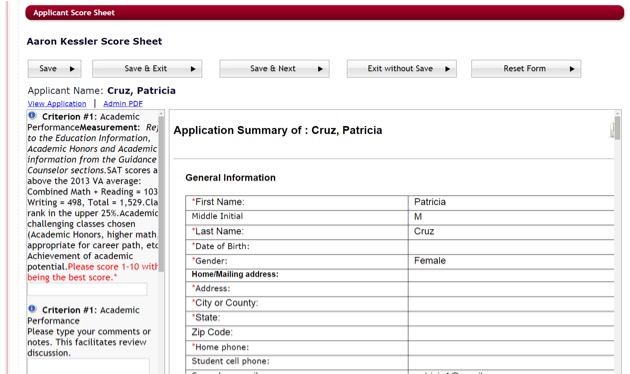
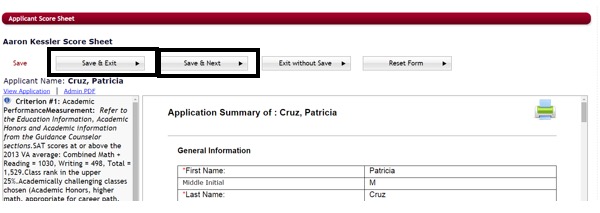
If the Global Administrator has set the Show Application Summary As A Link control in the Administration>Site Setting to “No”: The following task/score sheet is displayed: (The applicant’s application form will appear to the right of the task’s questions to complete)
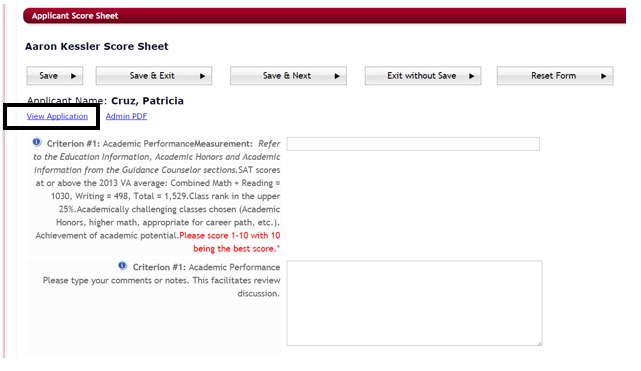
If the Global Administrator has set the Show Application Summary As A Link control in the Administration>Site Setting to Yes: The following task/score sheet is displayed: (This will not show the application form, you will have to click on the “View Application” to open the application form in another tab in your browser.)
Step 3: When viewing the application using either the “View Application” or in the display view, you can view any attachments that may be available by locating the actual question in the application form and clicking on the highlighted document;
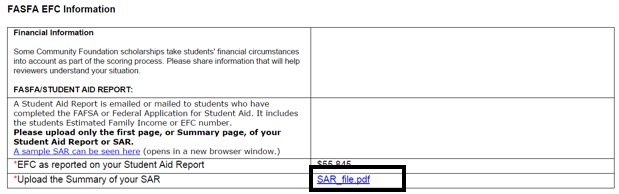
Or you can scroll to the bottom of that application form and locate the Attached Documents section showing all the attachments and click on the attachment there.

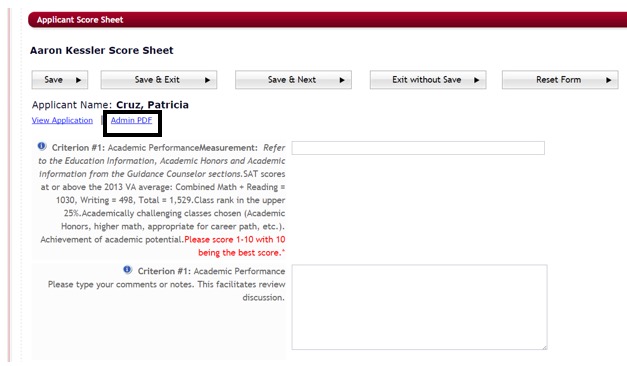
Step 4: If you want to print a PDF copy of the applicant’s application combined with all the attached documents you can click on PDF option available. This will create one PDF document of the application and all the attachments.
Step 5: Once you have completed answering all the available questions or scores, you can click the Save & Exit to return to the listing of applicants and select the next applicant to review. If you are reviewing multiple applicants, you can click the Save and Next to be directed to the Next applicant in the task for review.
Step 6: Once you return to the listing of assigned applicants it will show the percentage complete for that applicant. If it does not show 100% complete then you will need to return to that applicants score task and complete any missed questions.
Step 7: To navigate back to the Tasks listing click on the Task name or the Review Applicants listed in the bread crumb navigation at the top of the page.

1.4 Additional Push Scores option for Reviewers
If the Global Administrator has selected in the Administration>Site Setting: General Settings: Push Committee Scores: Push Scores within Application or Push Scores across all Applications within the Academic Year, then once the assigned reviewer reviews an applicant and clicks either Save and Next or Save and Exit they will have the option to push scores for other tasks or applications they may be assigned to for the same applicant.
Important Note to Administrators: Only the scoring questions that are created in each score card with the exact same XML name and question type formatting will be pushed. If the XML Name on a scoring question is not the exact match, or the question type formatting has been changed it will not import and push that data. Therefore, it is best to clone the tasks when creating them in order to keep them consistent.
Step 1: Once the reviewer completes the individual score card review for the applicant they will click either the Save and Exit or Save and Next, button:
Step 2: If they have been assigned to that same applicant in another review task, the following screen will appear, showing any additional tasks they have been assigned to for that applicant:
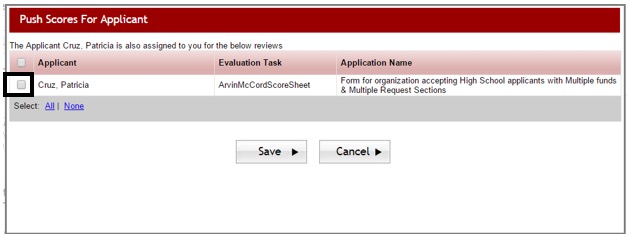
Step 3: If they want to push the replies they just entered on the previous score card, they will put a check in the box next to the applicants name. Once they check it and click Save, all the scores from the prior score sheet that match questions in the additional score sheet(s) will be automatically pushed to the selected tasks. Only the selected tasks will be pushed.

If they do not want to push to any of the tasks then they can simply click Cancel and continue the review of the other applicants.
Step 4: Once they push those changes they will still want to go to the additional task(s) and complete any other additional required questions that may be present on that task and confirm its completion.