1.1 Evaluate Applicants
Evaluate Applicants allows you to monitor the evaluation process to see which tasks have been completed by your review committee members as well as review the scores given to applicants based on the scoring tasks and the automated scoring question. (The Awarding will be covered in another module please see that module for additional information on how to award your applicants.)
1.2 Accessing the Evaluate Applicants Dashboard
The Evaluate Applicants dashboard allows you to evaluate the applicants that have been assigned to committee reviewers and review task.
Step 1: From the Home dashboard select the Evaluations icon or you can access it by clicking on Evaluations in the Navigation link at the bottom of the page.
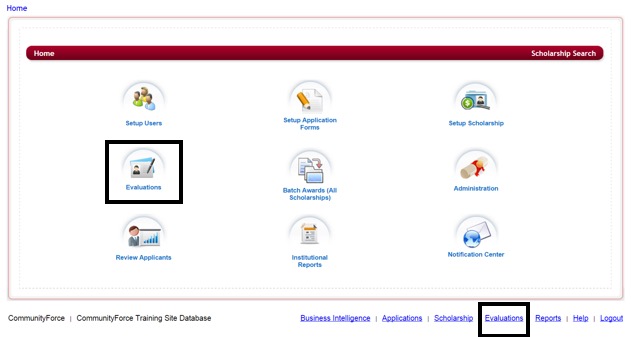
Step 2: This will direct you to the Evaluations application’s listing. Select the application you want to setup your evaluation process on, by clicking on the application name under the Application Form Column.
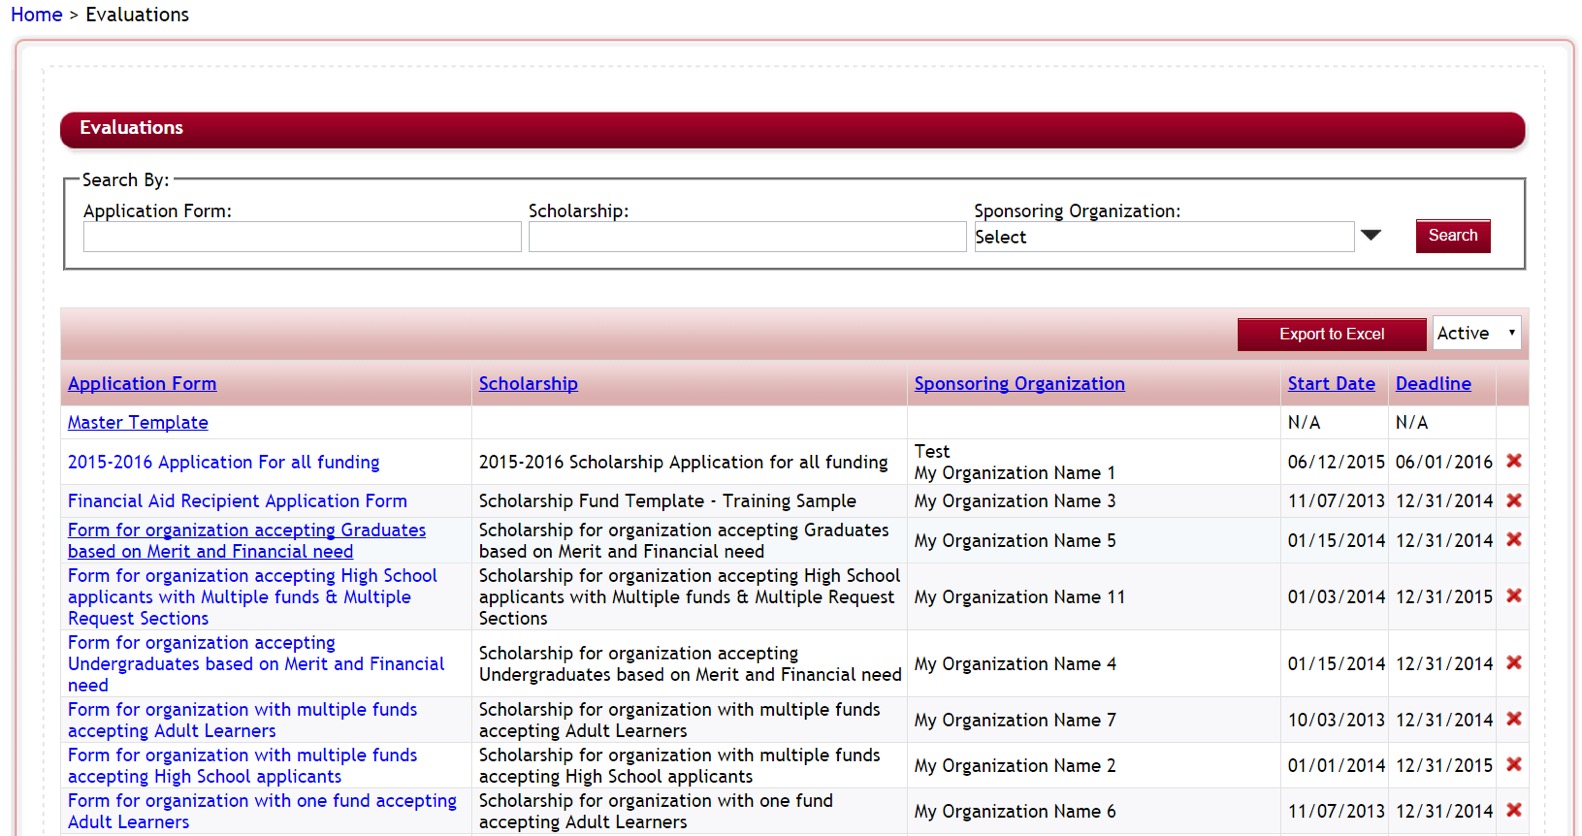
Step 3: You will be directed to that application’s Evaluations dashboard.
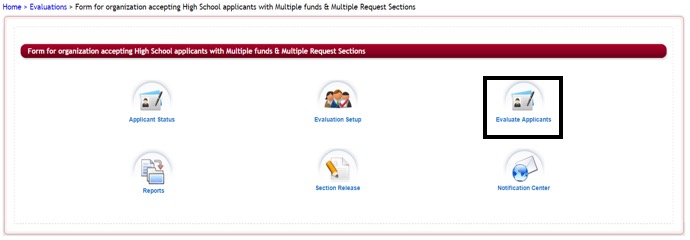
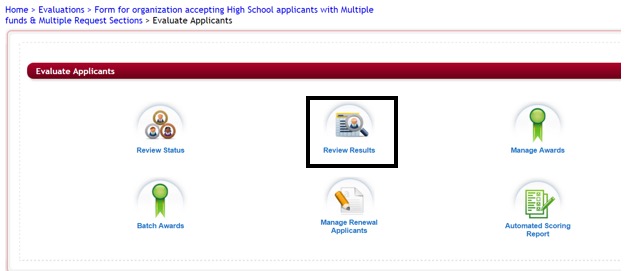
Step 4: Click on the Evaluate Applicants Icon
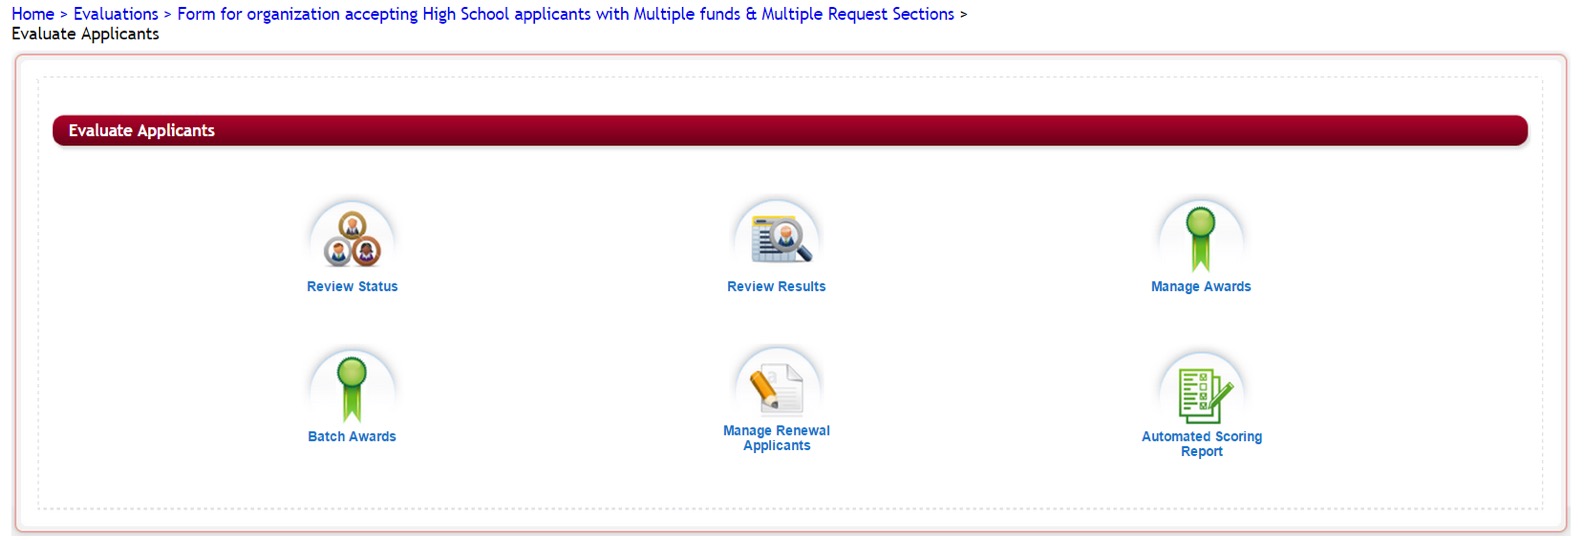
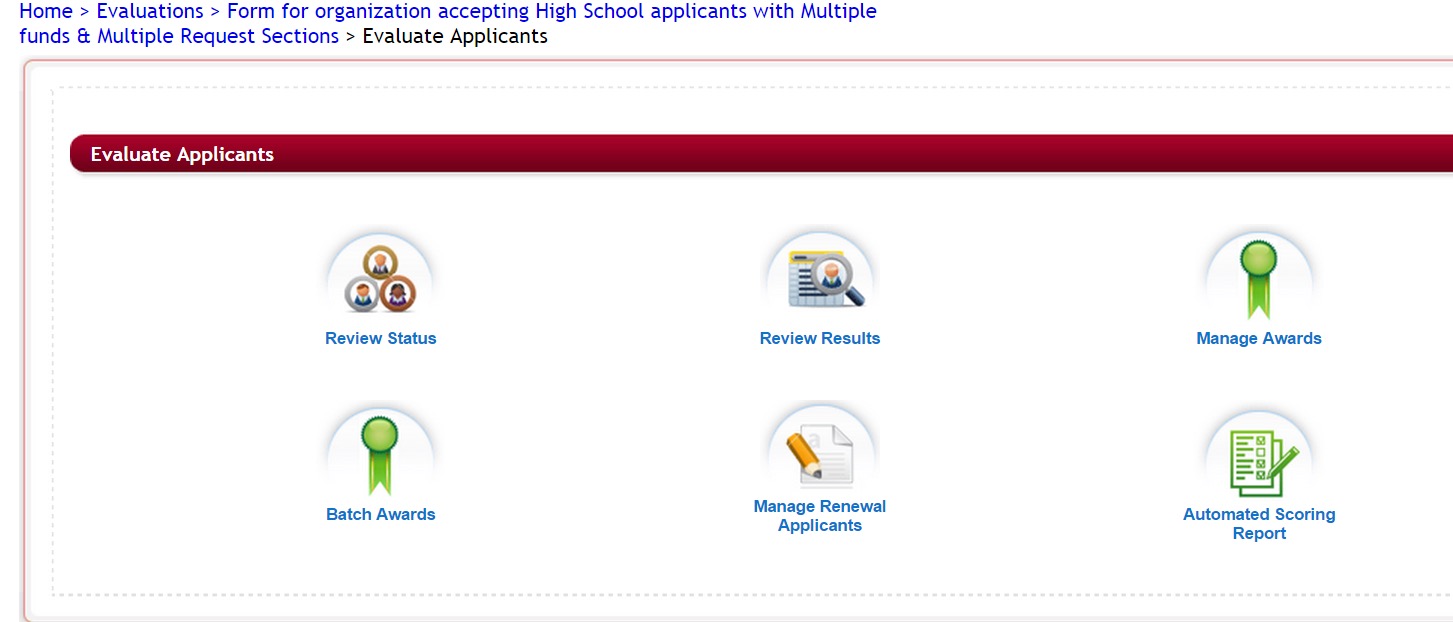
Step 5: The following Evaluate Applicants Dashboard will appear:
1.3 Review Status – Introduction
Review Status allows you to see the status ofthe specific tasks you have set up in your review process. In the Review Status you are able to view each active task and see how far the reviewers have gotten in reviewing their applicants. You can see how many applicants the reviewers have completed and what still needs to be completed.
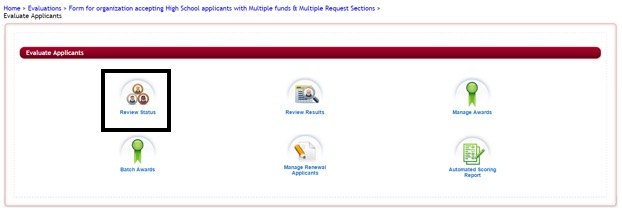
Step 1: From the Evaluations>Evaluate Applicants dashboard for the application you are reviewing, select the Review Status Icon.

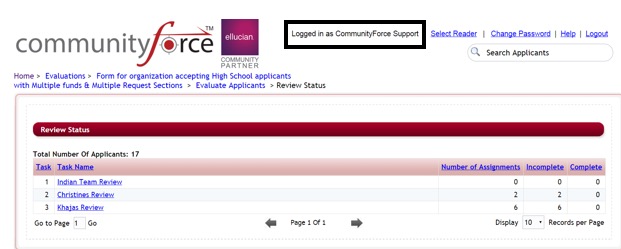
Step 2: The Review Status report page will open:
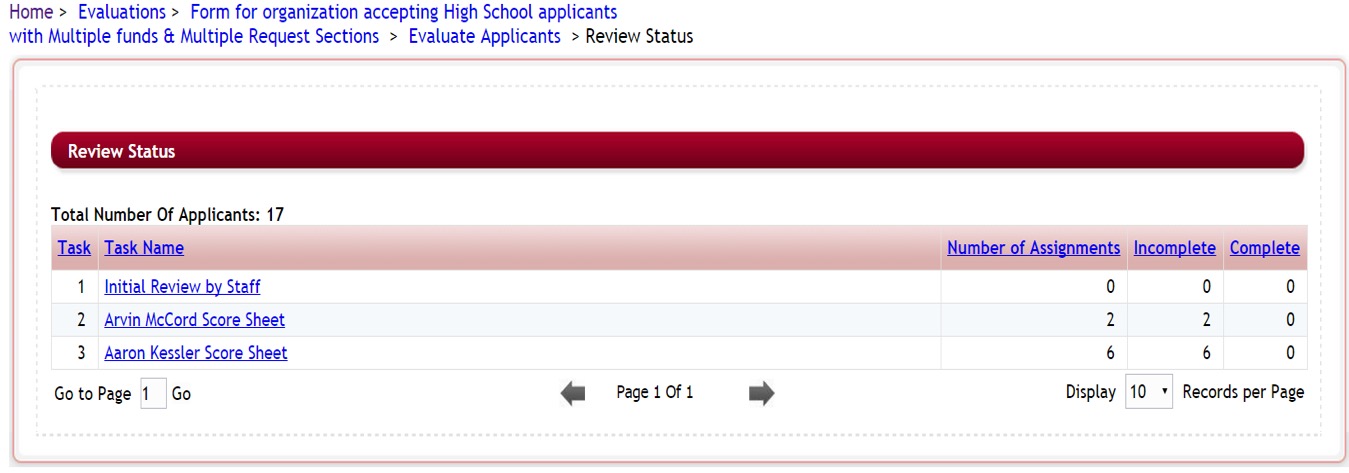
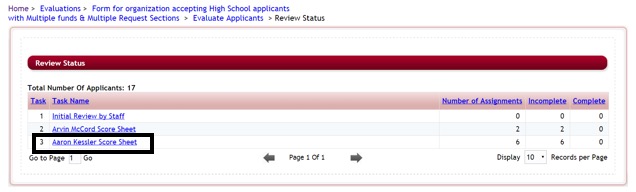
Review Status report features
Task – The task number that was assigned to the sort order of this task
Task Name – The name of the task
Number of Assignments – The total number of review assignments in that task. This is not the count per applicant it is the count for the total of reviewer assignments. (I. e. you have three separate reviewers assigned to two applicant – this would equal six assignments)
Incomplete and Complete – Shows the number of the assignments that have been accomplished by the reviewers.
Step 3: Click on the individual Task Name to see details on the individual applicants assigned in that task and the individual scoring given by each reviewer for that applicant.
Step 4: The Applicant Score Card (All Applicants) will open showing all the applicants and the current status of each review for that applicant.
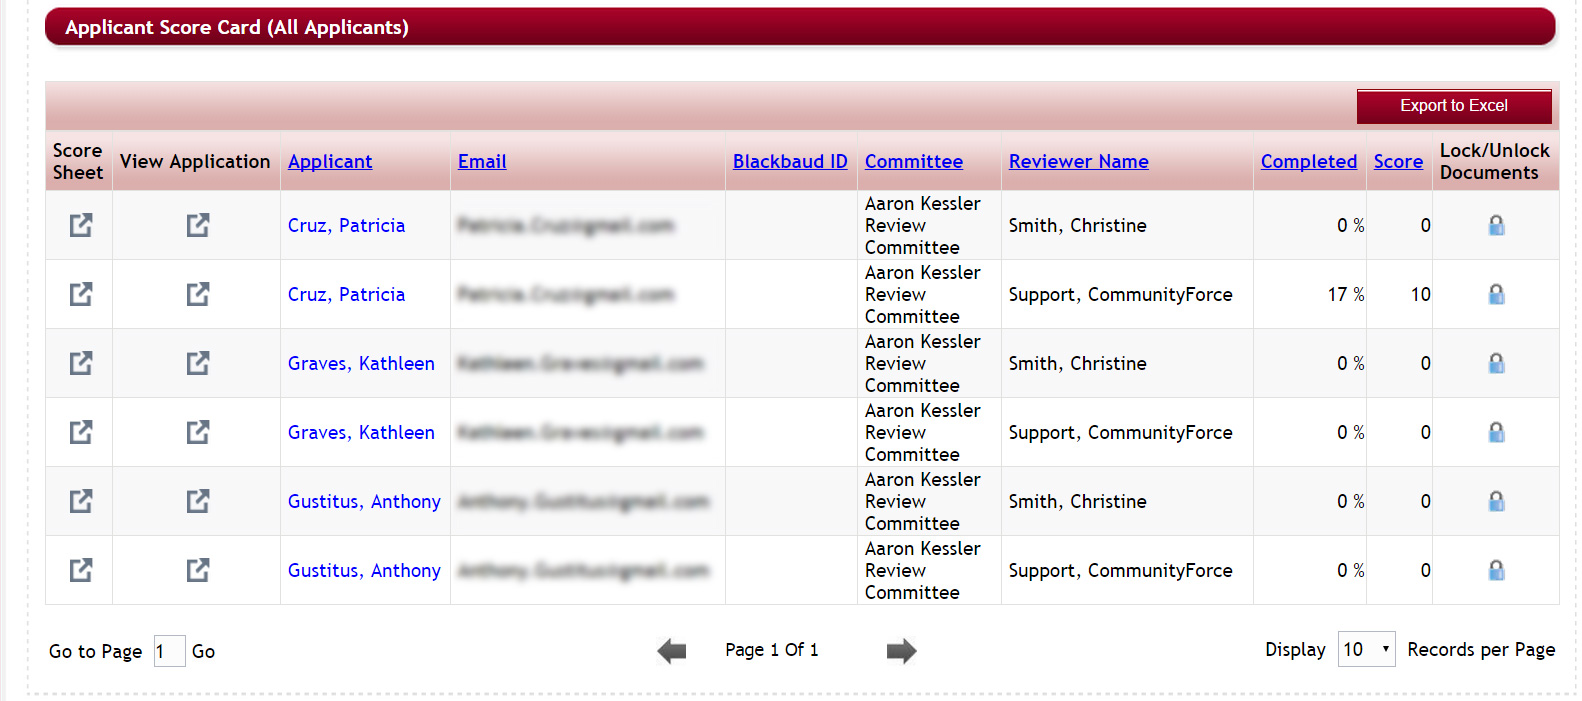
Applicant Score Card (All Applicants)
In the applicant score card each applicant is listed multiple times according to the number of Reviewers assigned to them.
Score Sheet – Clicking on the score sheet next to each applicant’s name allows you to see how the reviewer in that Committee Group answered the task specific questions for that applicant.
View Application – Clicking on the View Application will allow you to view the Application Summary of the Applicant and any required attached documents that were included in their application process.
Applicant – Clicking on the Applicant’s name will allow you to open and view the applicant’s application dashboard.
Email – The applicant’s email address
Committee – The name of the committee that the assigned reviewer is a member of
Reviewer Name – The name of the reviewer reviewing the applicant
Completed – The total percentage completed that the specific reviewer has completed for that specific applicant on that task
Score – The individual reviewer’s total score that they gave to that specific applicant on that task.
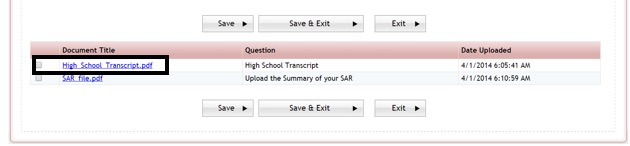
Lock/Unlock Documents – Allows you to view the documents without having to open the application summary.
- Click on the Lock Icon to open the listing of attached documents. You can then click on each individual document to open and view it. Click Save and Exit to return to the Applicant Score Card (All Applicants).
Export To Excel: Allows you to export to Excel the Applicant Score Card (All applicants) report.
1.3.1 Assuming the Reviewers Identity
There may be times that a reviewer may request the administrator to make an adjustment to their score or enter the scores online for them. From the Review Status report there is the option to Select the Reader, change your login to the actual reviewers and make those needed adjustments for them.
Step 1: From the Evaluations>Evaluate Applicants dashboard for the application you are reviewing, select the Review Status Icon.


Step 2: The Review Status report page will open:
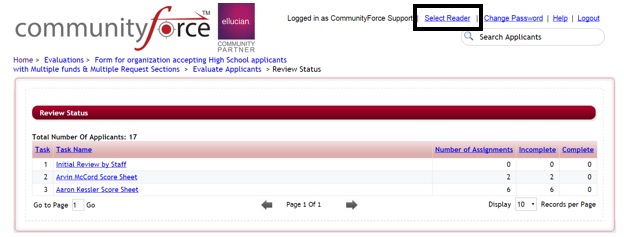
Step 3: Click on the “Select Reader” located at the top of the Review Status page.
Step 4: The Select Reader page will open showing all the reviewers assigned to tasks on that application.
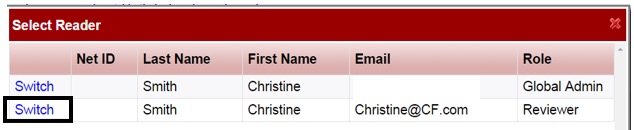
Step 5: Locate the name of the reviewer you want to assume identity on, and click on the word “Switch” that is located to the left of their name.
Step 6: You are now logged in as that reviewer, viewing their actual Review Applicants page.
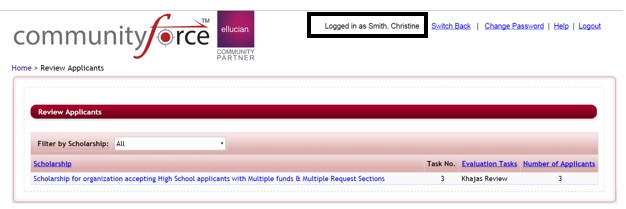
You also will notice at the top of the page that the “Logged in “will now show as that reviewer.
Step 7: Click on the tasks you want to edit for that reviewer and make any changes you need to make on their behalf. Be sure to remember to click save to save any changes you make.
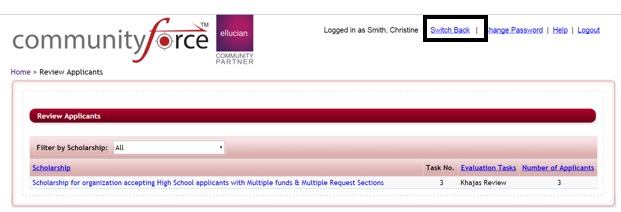
Step 8: Once you are done making the changes, you will need to click on the Switch Back at the top of the page, to change the logged in user back to yourself.
Step 9: You can confirm that you are back to your personal log in by looking at the top of the page and seeing that your login is now once again showing as the Logged in user.
1.4 Review Results – Introduction
Review Results allows you to view the average scoring total results per applicant.
Very Important: When viewing scores in the Review Results it is important to remember that the scores you are viewing are the combined average scores for all tasks that are currently turned on, and have the box checked to Display on Review Reports – “yes” in the Evaluation Setup>Tasks setup. That means, if you have two separate tasks that are currently marked to display on the review reports, and are looking at the Review Results report, you will see the average total for both of those tasks and that total will be the combined total of all the reviewers that reviewed in both tasks. Therefore, if you are wanting to only see the scores on one task, keep that task checked to “Display on Review Reports, but on all the other tasks you will need to uncheck that box “Display on Review Reports”, leaving only the one task you want to review as checked.
Example:
You are looking at the Review Results totals, however you have two tasks that are marked active and “Display or Review Reports is checked – “yes”
Task 1 – had 3 reviewers with a total score (not average yet) of 60 points
Task 2 – had 3 reviewers with a total score (not average yet) of 90 points
The Review Results average score for that applicant will be 25. (60+90)/6=25
Step 1: From the Evaluations>Evaluate Applicants dashboard for the application you are reviewing, select the Review Results icon.
Step 2: Once you click on Review Results the following screen appears:
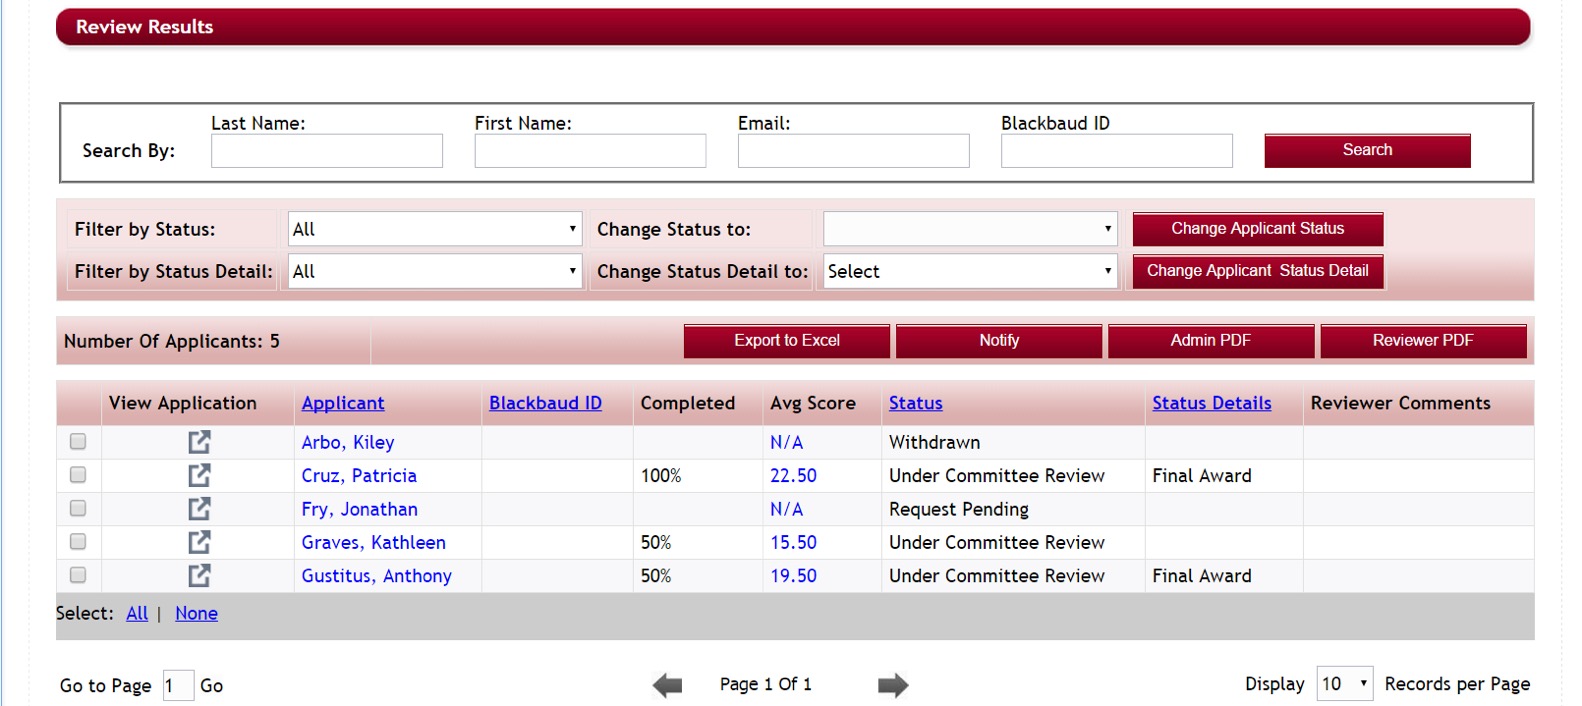
The Search by and Filter by Status/Status Detail features on this page are used just the same as the features in the Evaluations>Applicant Status report, however this report will show only those applicants that are in the submitted state and and are not in the Pending Submission status. If you would like to see a specific status or applicant you can use the Search by or Filter by Status section to locate those applicants.
Review Results Features:
Search By - Allows you to search for a specific applicant in the listing.
Filter by Status – Allows you filter on a specific status to only see applicants of a specific status. (You can only view applicants that have been at least assigned in the review process, submitted and pending submission applicant will not appear at this stage of the process)
Filter by Status Detail - Allows you filter on a specific status detail to only see applicants of a specific status detail (you can only view applicants that have at least been assigned in the review process, submitted and pending submission applicant will not appear at this stage of the process)
Change Status to - Allows you to change the status of a specific applicant.
Change Applicant Status Detail – Allows you to change the status detail of a specific applicant.
To change an applicant’s status or status detail you must first filter by the Status/Status Detail the applicant is currently categorized as. Then check the box to the left of their name and then select the status or status detail you want to move them to under the Change Applicant Status or Status Detail section, click one of the “Change Applicant Status” buttons accordingly. You can change this for one applicant or multiple.
Number of Applicants – Total number of applicants in the Review process that are in the specific filter of Status/Status detail. If Status/Status detail is set to all this is the total number of applicants for all statuses.
Export to Excel – Creates an excel export of the Review Results report grid as you are currently viewing it.
Notify – Allows you to send a Notification email to a specific applicant, by checking the check box next to the applicant’s name and then clicking the Notify button.
Admin PDF – A PDF document of the applicant’s application along with all attached documents that has all sections available for the administrator’s to view.
Reviewer PDF – A PDF document of the applicant’s application along with all attached documents. Only the sections/question that have been to be shown to the reviewers will appear in the PDF document.
View Application – Opens the application Summary document of the applicant and shows all the required uploaded documents for you to view individually.
Applicant – Clicking on the Applicant name will direct you to that applicant’s application dashboard.
Completed: That percentage completed by all reviewers across all tasks that are active and have the “Display on Review Reports” selected.
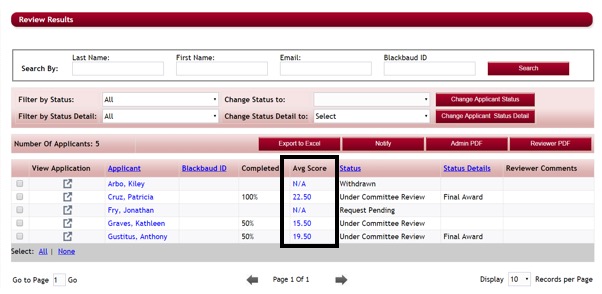
Avg. score – Shows the applicant’s final average score card for the applicant showing the score for all the Tasks the applicant was scored on.
- Note: This is an average of the total scores across all task and divided by the total number of all reviewers assigned in all the task.
Status- current status of the applicant in the application process
Status Detail – user defined status/stage of the applicant in your review process
Reviewer Comments – the questions in your tasks that were marked as “Scoring Comment” when created will be included as the Reviewer Comments field.
Step 3: To view the details on the applicant’s score and to see how the individual reviewers scored the applicant, click on the Avg. Score to open the Applicant Score Card.
Step 4: This will open the Applicant’s Score card showing the results of each active task and how the reviewers scored the applicant in those tasks.
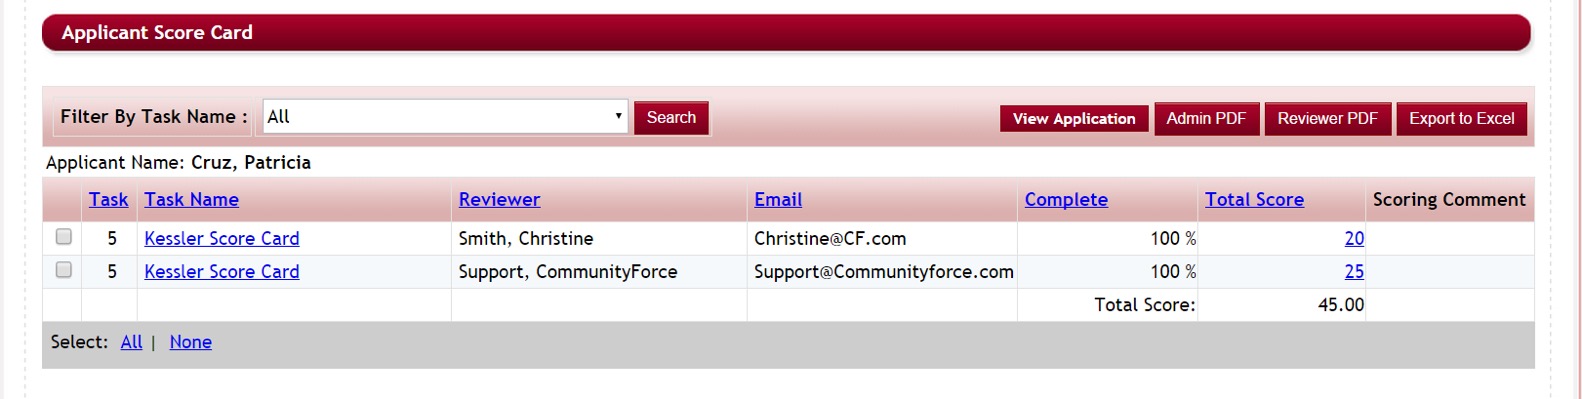
Filter By Task Name – Allows you to filter on a specific task to see only the data on that task only.
View Application – Opens the application Summary document of the applicant, and shows all the required uploaded documents for you to view individually.
Admin PDF – A PDF document of the applicant’s application along with all attached documents that has all sections available for the administrator’s to view.
Reviewer PDF – A PDF document of the applicant’s application along with all attached documents. Only the sections/question that have been to be shown to the reviewers will appear in the PDF document.
Export to Excel – Exports the Applicant Score Card report to an excel document
Task – The task number that was assigned to the sort order of this task
Task Name – The name of the task. Clicking on the specific task name will open the score sheet for that reviewer and show how they scored the individual questions in that task.
Reviewer – The actual reviewer assigned to the applicant on that task
Email – The reviewer’s email address.
Complete – The total percentage completed that that specific reviewer has completed for that specific applicant on that task.
Total Score – The total score given by the specific reviewer on that specific task.
Clicking on the specific score will open the score sheet for that reviewer and show how they scored the individual questions in that task.
Scoring Comment – The scoring comment (if included as part of your score card task) of the specific reviewer on the specific task.
Step 5: To return to the Review Results report, click on the “Review Results” located in the breadcrumbs navigation at the top of the page.

Best Practice Tip:
Note if you have multiple tasks being reviewed concurrently and are needing to be able to see the scores on completed tasks, and cannot turn the other tasks off due to reviews still being performed in those tasks, you may be better off running ad hoc reports to review your results for a single task, create each report and include the scoring section in the report, then filter the report in the filter set up on the individual task. This will give you only the scoring information on that task. If these tasks are based on a per fund basis, and you are using the Matching fund eligibility to match applicants to those funds, you also can select the specific task that goes with the fund, when viewing the fund in the Manage Awards section. (See the Managing Awards training module for more details on how to review using Manage Awards).
1.4.1 Create Ad Hoc Report for scoring results
Note: This is a brief overview on how to create an Ad Hoc scoring report, for a more in depth detail on creating reports please – See the Reports Training Module
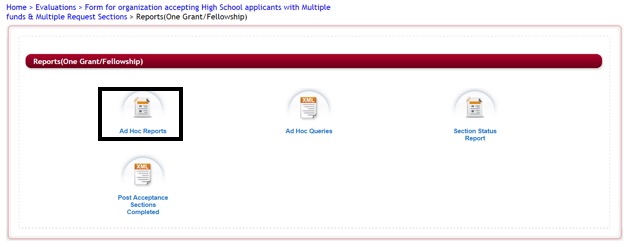
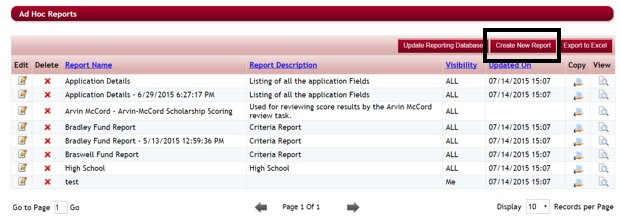
Step 1: In the Evaluations>Reports Open the Ad Hoc Reports for the application you are reviewing.
Step 2: Click on the Create New Report button.
Step 3: Name the report and give it a Description.
Step 4: if this is to be a report that all the staff needs to see select the Visible to All otherwise you will be the only one that can access this report.
Step 5: Select the Application Data, Section Data and the Score Card Information
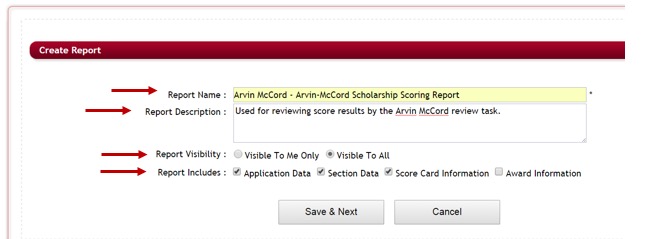
Step 6: Click on Save & Next to go to the next page
Step 7: Select the individual columns to include in the report. You can select specific questions from the applicant’s application, as well as select specific questions that the reviewers scored on in the task card if you want to see each reviewer’s individual scores for the applicant. (Make sure to pull the Application Data – Status and Status Detail, so that you will have those columns to filter on once the report is completed.)
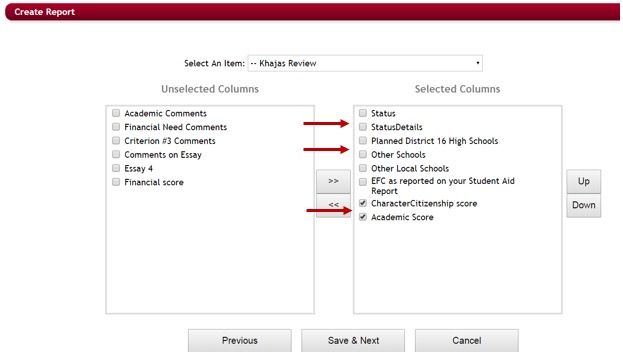
Step 8: Click Save and Next
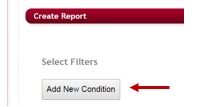
Step 9: Click the Add New Condition button
Step 10: Select the Filter to filter on the actual task
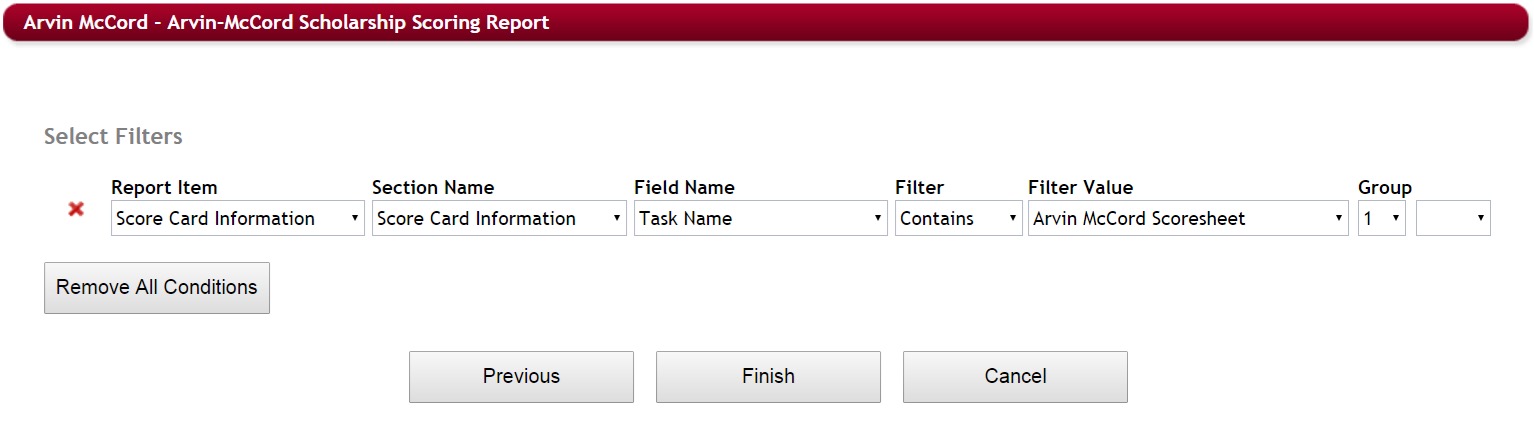
- Report Item: Score Card Information
- Section Name: Score Card Information
- Field Name: Task Name
- Filter: Contains
- Filter Value: Click the actual Task name that you want to see the results for
Step 11: Click Finish to return to the report list.
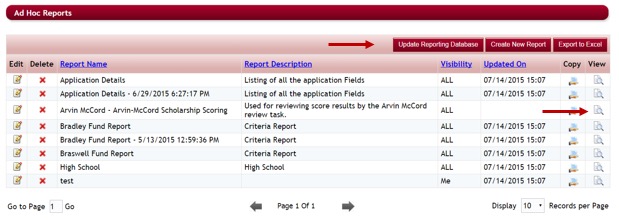
Step 12: Once you are at the report list remember to first click the Update Reporting Database button. Then once the database has updated, locate the report you just created and click on the View icon located to the right of that reports name to open the report. Once you open the report it can be exported to Excel.
1.5 Automated Scoring Report
The Automated Scoring Report allows you to view the results for the scores based on automated scoring set on questions within the application using the Manage Automated Scoring setup feature.
Step 1: From the Evaluations>Evaluate Applicants dashboard for the application you are reviewing, select the Automated Scoring Report icon.
Step 2: The Automated Scoring report will open showing all the applicants that have submitted their applications and the automated score total for that applicant.
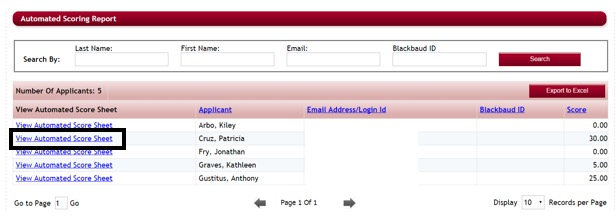
Step 3: To see the breakdown of the individual automated scores given to each applicant, click on the View Automated Score Sheet listed to the left of the applicant’s name.

Step 4: This will show the individual score the applicant received for each automated scoring question that was set in the Automated Scoring setup.
Step 5: To return to the Automated Scoring Report click on the Automated Scoring Report In the breadcrumb navigation at the top of the page.
