A Role Type is used to describe the level of access a user will be given to be able to login and use various areas within your site.
Before setting up your user accounts, you will first want to determine what types of roles your users will have in the use of the system and create role types based on that access.
When creating these role types think about who will be accessing your site, and what level of access they will need to perform the specific tasks assigned to them. Then determine what areas of the site each role type will need to access, to be able to perform that task.
There are three standard role types that come with your site: (these role type’s access cannot be modified however you can change the name and description to better fit the needs of your organization). These are as follows:
- Global Admin
- Reviewer
- Applicant
Important: The additional role types that are pre-loaded are suggested role types only, therefore you will want to review each ones access prior to using and create a meaningful definition for your organization’s needs.
1.1 Accessing Manage Role Types
Role types are created in the Administration Dashboard and can only be accessed by the Global Administrator(s).
Important: You cannot add additional licensed users to the system. These role types and the access given them are licensed users which cannot be randomly added. You also cannot add additional role types and give them the same access, as this will require additional licensing to be purchased.
Exercise 1
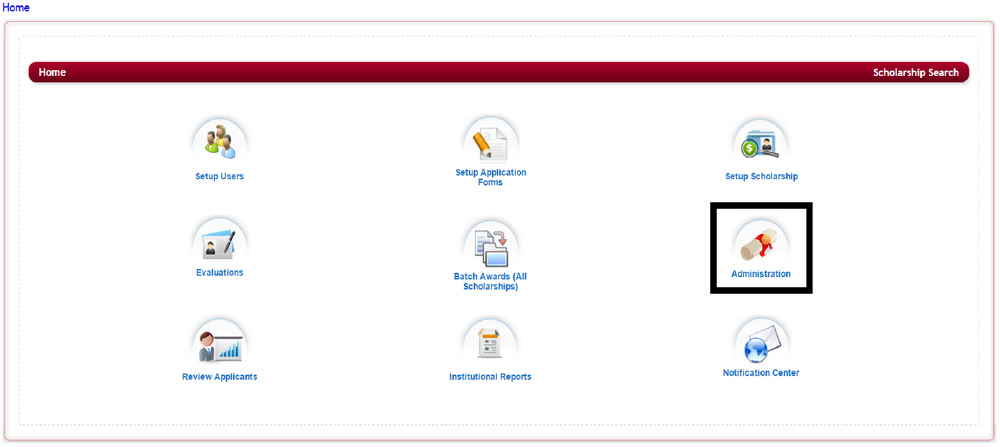
Step 1: From the Home Dashboard select the Administration Icon to be directed to the Administration Dashboard.

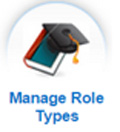
Step 2: In the Administration Dashboard select the Manage Role Types icon
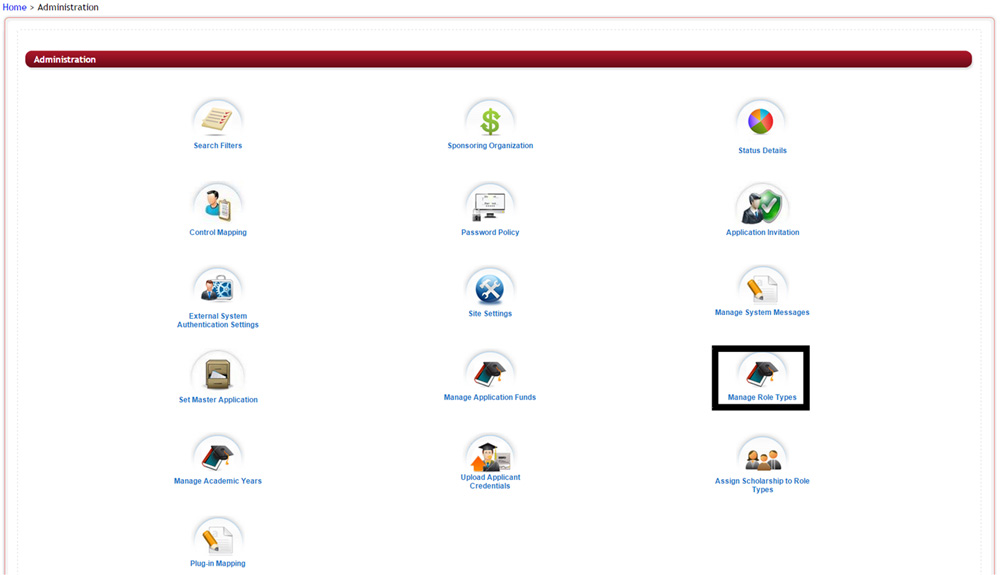
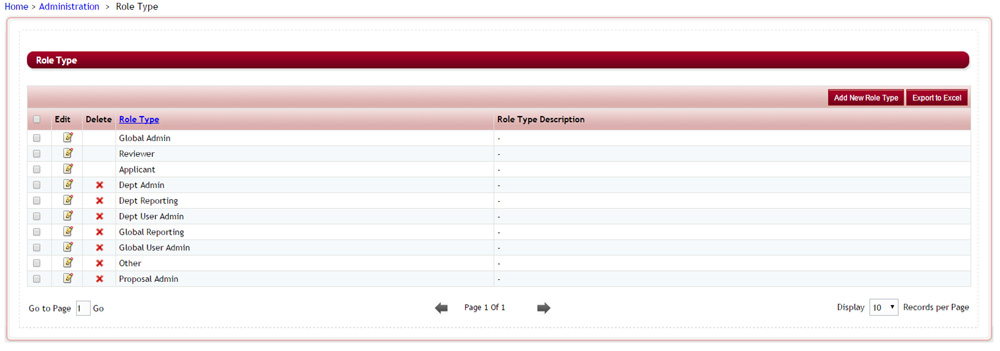
This will open the Manage Role Types page, where you can create a new role type or edit an existing one.
1.2 Adding a New Role Type
You can add an unlimited number of role types to fit the needs of your organization. However, you will find that you are not able to create a role type that gives the same access as a licensed user as this will require additional licensing to be purchased. (i.e., Global Admin).
Exercise 1
Step 1: From the Manage Role Type page select the Add New Role Type button
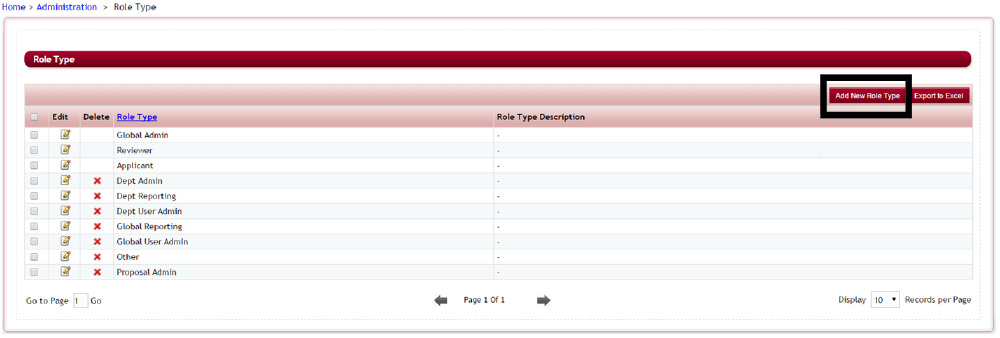
This will open the Role Type setup page.
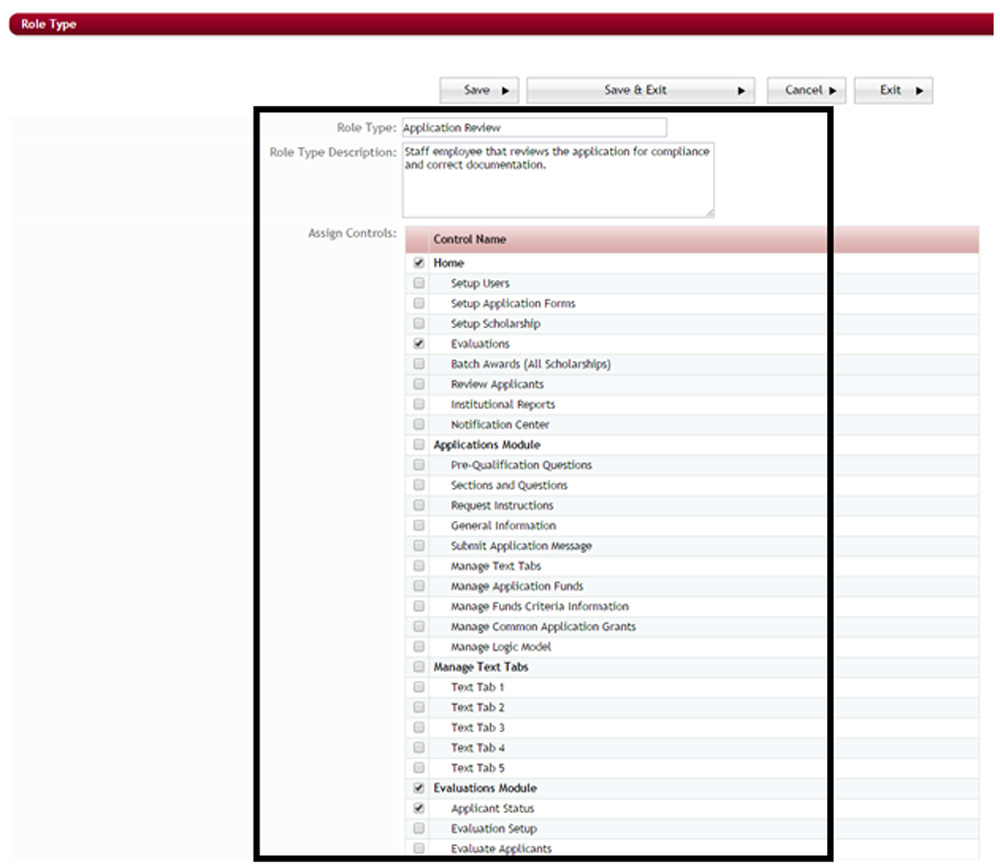
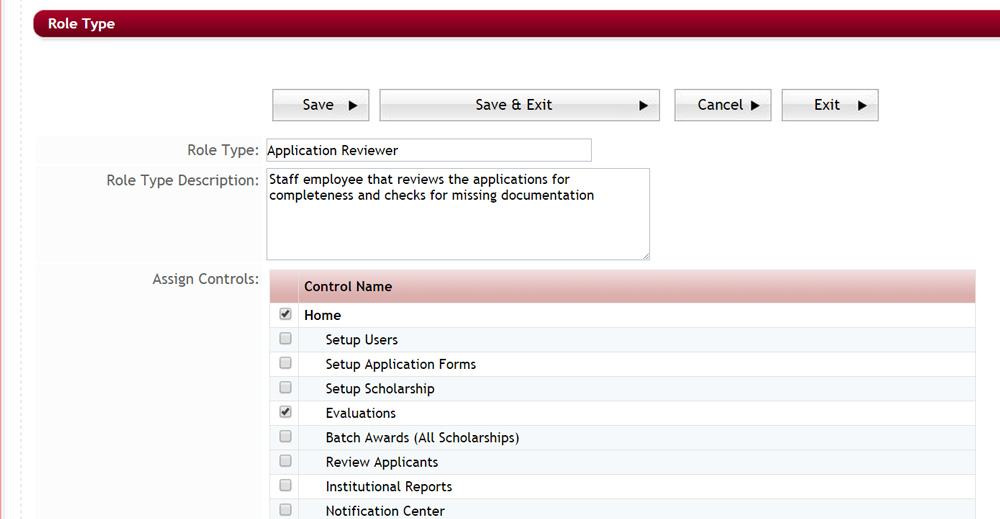
Step 2: Role Type: Enter the name you want to give the Role Type.
Step 3: Role Type Description: Enter a description for the role type in the Role Type Description.
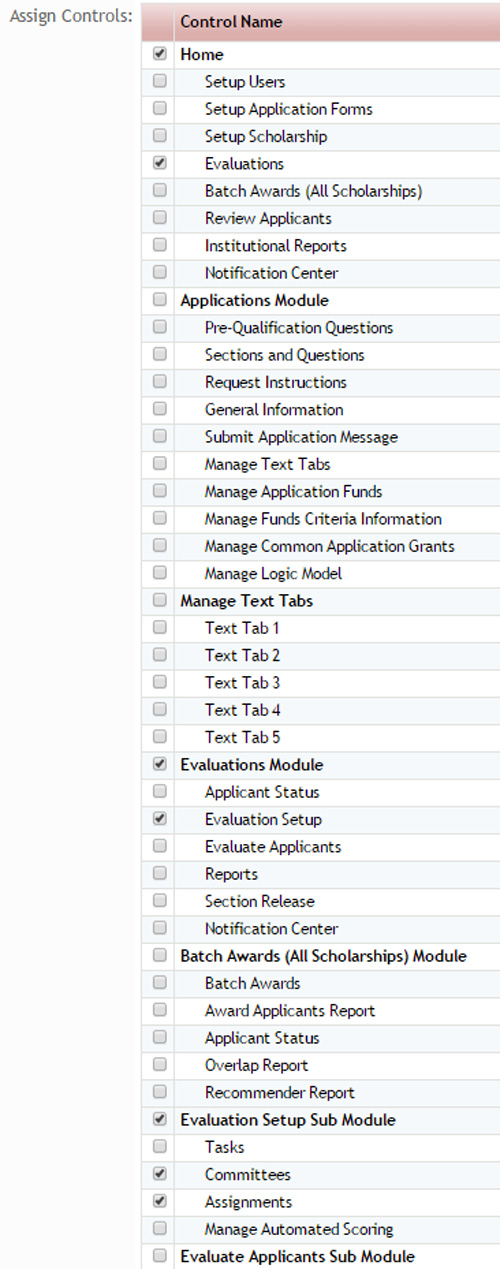
Step 4: Assign Controls: Select all the areas that you want that role type to have access to by putting a check mark in the box next to that access area.
Note: when selecting access to an area you will need to give access to the entire dashboard paths it takes to get to that area starting from the Home dashboard.
Example 1: The illustration above is giving a user access to view only the Applicant Status screen so that they can access the applicant’s applications and verify the completeness of that application. The following access has to be given:
|
 |
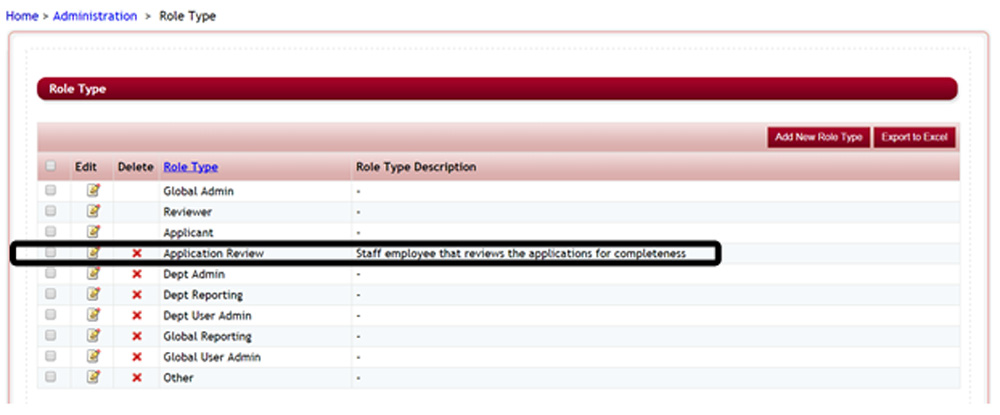
Step 5: Once you have made your selections click Save & Exit to save the role type and return to the role type listing. Your new role type will now appear alphabetically in the listing.
1.3 Editing a Role Type
There are three role types that are standard and their access cannot be changed, however you can change their name or description to better fit the needs of your organization. They are as follows:
- Global Admin
- Reviewer
- Applicant
Exercise 1
Step 1: From the Manage Role Type page select the Edit icon next to the role type you want to modify.
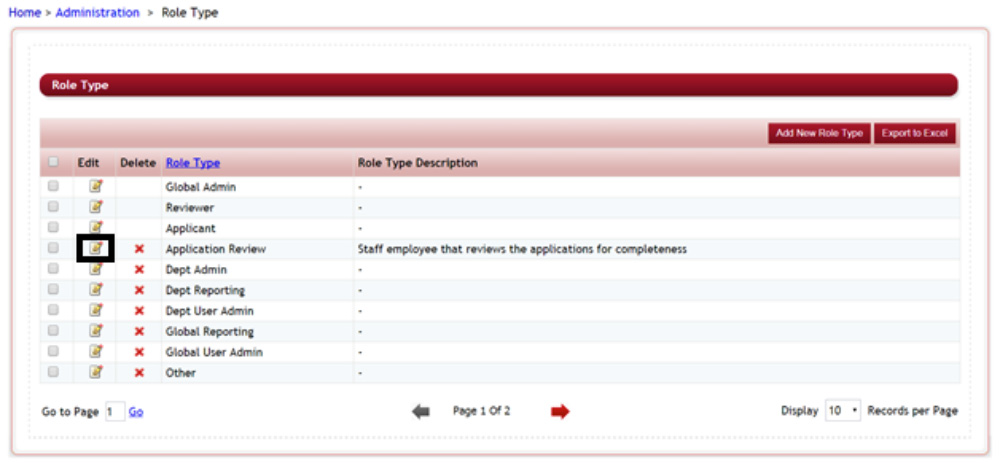
This will open the Role Type setup page for that role type.
Step 2: Change the Name of the Role Type by clicking in the Role Type field and modifying the name that is already there.
Step 3: Change Role Type Description by clicking in the Role Type Description field and modifying the information already there.
Step 4: Select or unselect the access assignments in the Assing Controls. Be sure to remember to remove the entire dashboard module path if you do not want them to have any access to that dashboard.
Step 5: Click Save & Next to save your changes and return to the Role Type listing page.
You will receive a System Alert message notifying you that your record has been updated

Step 6: Click Ok in the system Alert.
1.4 Deleting a Role Type
You can delete any role type other than the first three standard role types.
- Global Admin
- Reviewer
- Applicant
***Important: Deleting an existing role type may cause you to lose any data entered by a user with that role type. Therefore, before deleting a role type, make sure that you have not used that role type or that you have gone in and changed all users that had that role type to a new role type prior to deleting. (Changing a user’s role type from one to another may cause loss of data as well, for further explanation see Editing a User Profile.)
Exercise 1
Step 1: From the Manage Role Type page select the red X next to the role type you want to delete.
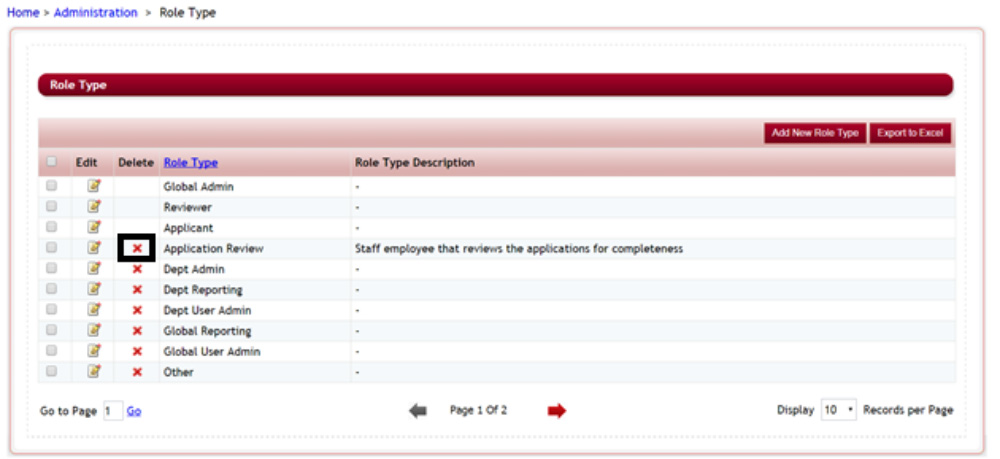
A Confirmation message will appear confirming the deletion.

Step 2: Click Yes to confirm or No if you do not want to delete the role type.
If you click Yes a new message will appear verifying the deletion was successful.
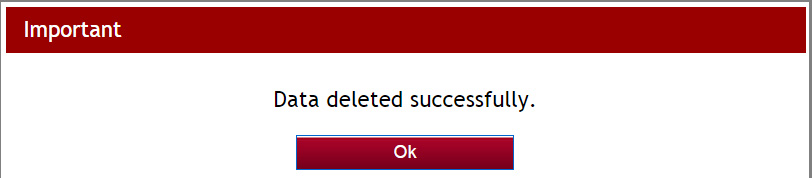
Step 3: Click OK and the role type will now be removed from the listing.
1.5 Creating an Export List of Role Types
When creating and editing Role Types it is recommended that you create an export listing of those Role Types so that you have it easily accessible when creating Users in the system.
Exercise 1
Step 1: While in the Manage Role Types click on the Export To Excel button.

This will show up on your computers task bar as an Excel Document to be opened.
Step 2: Click this item to open the listing in Excel. This will open on your local computer using your Excel program to open it.
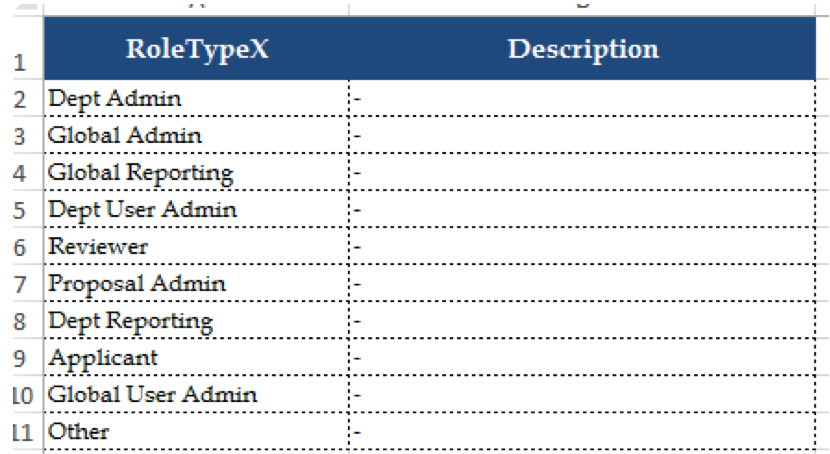
Step 3: Save this Role Type listing so that you have it to refer back to when creating Users in the system.