The Funding Source is the source of funding used to fund a specific application process. In order to publish an application to accept applicants you must link that application to a funding source.
You could have multiple funds for one application or one application with one funding source for that application.
In order to monitor the awarding for each funding source, you must set up each source separately. (I.e. if you have three funding sources funding a specific application, you need three separate fund sources created.)
Important: If using a one to many application process, you will create a posting fund to link to the actual application that the applicants are applying to. Then publish that fund so that applicants can apply to it. However, you will still want to create separate funding sources for each of the separate funds that are included in that one application, but will not have an associated application linked to those individual funds.
1.1 Creating a Funding Source
Exercise 1
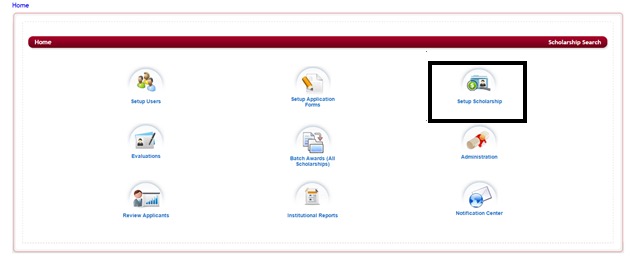
Step 1: From your Home dashboard, click on Setup Scholarships (this icon’s label may have been changed according to the term that you use for your funding source)

Step 2: The following screen will open, listing any funding sources that you may have already setup on your system, otherwise it will be blank if you have not setup any funding sources.
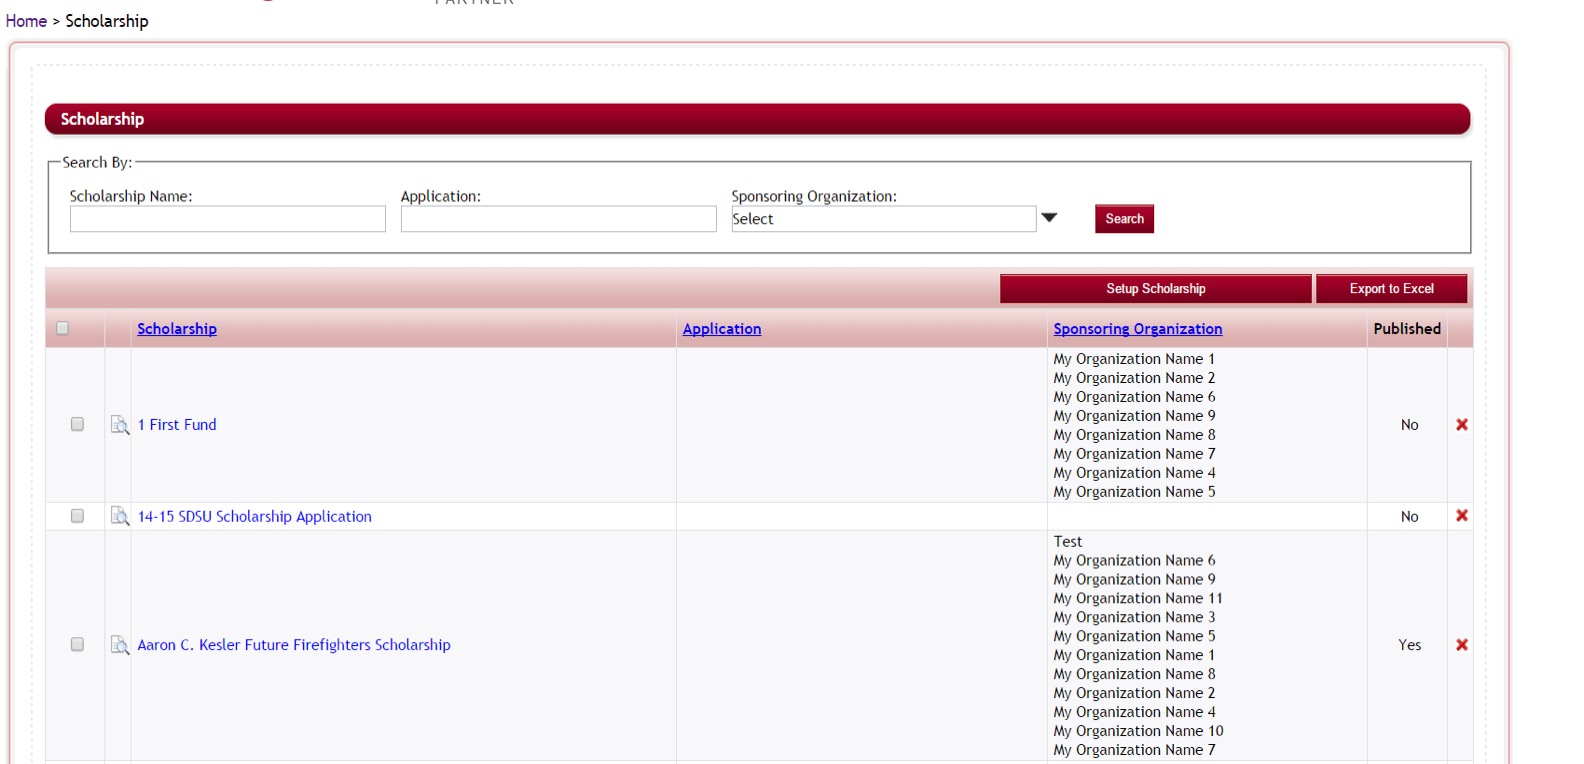
This listing will show the Name of the Funding Source, any Application directly linked to that funding source, the Sponsoring Organization that maintains the funding source, and if that funding source has been published.
Step 3: Click on the Setup Scholarship button to create a new funding source.
![]()
Step 4: The Setup New Scholarship screen will open.

Step 5: Scholarship Name: Enter the name of the funding source. If this is the posting fund use the name of the application cycle and the year (I.e. 2015 Scholarship Application) Otherwise use the actual name of the funding source that is familiar to those in your organization and the applicants applying.
Step 6: Associated Application:
- If each funding source has its own application, select the application for that single funding source.
- If this is the posting fund for a one to many process, select the application that is used to apply to all the funds in that application process.
- If this is the awarding fund that is part of a one to many application processs, and you are using one application to apply to all the separate funds, when you create those individual funds leave this blank on each one.
Step 7: Sponsoring Organization: Select theorganization(s) responsible for maintaining the Funding Source fund.
Step 8: Annual Budget/Academic Year: Enter the total amount to be awarded from this funding source for the current academic year and select the Academic Year for this award period. (If you have associated an application to the funding source, this will automatically populate with the same academic year as the application form.
Step 9: General Ledger Account: This is not a required field but you can use it to enter your General Ledger Account number that is used by your accounting program to track the funding for this fund.
Step 10: Award Amount: This is not a required field. This is a text field that allows you add how the funding will be awarded, i.e. 10 awards @$1,000 each.
Step 11:Complete any custom fields that may be required by your organization.
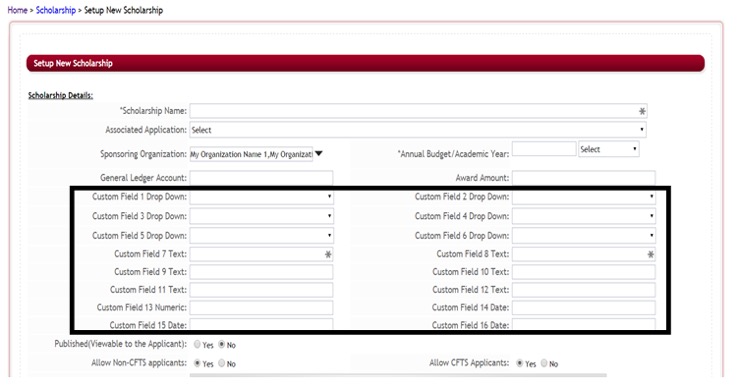
There are 20 pre-formated, customizable fields that are available for use. These fields will need to be set up by your Global Administrator in the Administration>Site Settings:Grants/Fellowship Settings. Therefore, many of they fields in the illustration above will be different depending on what your Global Administrator has activated. Please see your Global Administrator if you have any questions about the fields that have been set on your site.
Step 12: Published (Viewable to the Applicant: This allows the Funding Source fund and its application to be public and viewable to all applicants.
- Select “yes” to allow it to be viewable to applicant’s
- Select “no” when it is has a private application process or it is no longer an active fund and no longer to be published.

Step 13: Allow Non-(your org. name) Applicants:
- Select “yes” if the Funding Source fund is available to applicants that are not a member of your organization. (if not using Single Sign on authentication then you would default this to “Yes” for all your funding sources)
- Select “no” if this funding source is just for applicants that are members of your organization.
(This is used for clients using single sign that have applicants from their organization log in through their portal. If they select “no” to this item then only applicants that are logging in directly from their portal will be able to access this funding source anyone that tries to log in outside the portal will not have access to this funding. If they select “yes” then all applicant, no matter how they log in to access the site will be able to apply for this funding source)
Step 14: Allow (your org. name) Applicants:
- Select “yes” to allow applicants that are members of your organization to apply for this specific Funding Source.
- Select “No” if this funding source is only for Non-members of your organization to apply to.
Step 15:Email Signature: When sending emails from the site, if you use the “Scholarship Signature (site setting)” merge field in the email templates for that funding source’s application form, the system defaults to the site signature that was set on the Administration>Site Settings: General Settings: Signature by the Global Admin. If you want the “Signature” for emails sent regarding this funding source’s application to be different than the default, enter that signature in this box. This would then override the site setting signature. Otherwise you can leave this blank.
Note: if you are setting up a funding source that does not have an application directly associated to it in the Associated Application field (i.e. One to many application process and this is the awarding fund not the posting fund) this signature will not override. Only funding sources that have application forms directly linked in the Associated Application Field can have the signature overridden in that applications Notification Center email templates.
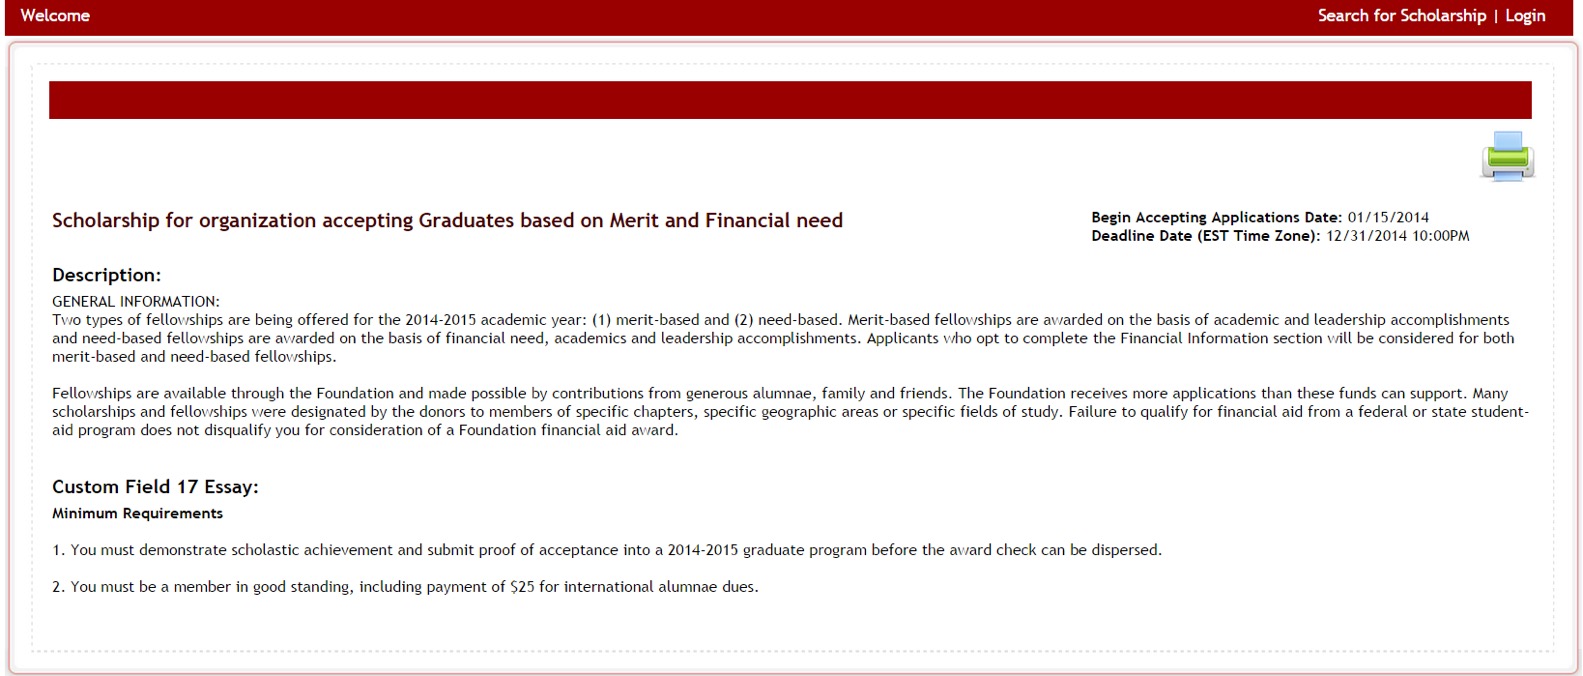
Step 16: Brief Description: Enter the short description of the Funding source that is displayed in the fund search listing
Step 17: Description: Enter thefull description of the Funding Source fund that is available after the applicant logs in.
Step 18: You may have some additional customized editor boxes that were set by your organization, complete those as required.
Step 19:Click Save and Next
Step 20: Depending on what setting have been set on your site, you may be directed to the Add a Contact, Add a Donor, and Search Filter setup. Please see the following instructions on how to perform each if required by your organization.
Step 21: if there are no other items to be completed, you will receive a message that the fund has been created, click ok to return to the Funding source listing

Note: once you create your funding source and open it again the Grant Link: will appear. This is the URL link that you can add to emails or your website that directs an applicant directly to this funding source to apply to it. This will not appear until after you have saved the initial setup and returned to this page.

1.2 Adding a Contact to a Fund (Optional)
The fund contact is the staff member responsible for the Funding Source fund. You can enter multiple contacts if more than one person is responsible.
In order to use the Contact Feature in your funding source, your Global Admin must first select “Yes” for the Enable Fund Contact feature in the Administration>Site Settings: Grants/Fellowship Settings.
Once this feature is activated it can be accessed two ways:
When first creating your funding source and you click Save and Next, the Add a Contact Screen will appear:

Existing Funding Source: When in the funding source listing click on the name of the funding source you want to add a contact to. Scroll to the bottom of the page to view the Add A Contact.

Exercise 1
Step 1: To add a contact click on the Add A Contact button.
![]()
Step 2: The Add Contact Screen will appear:
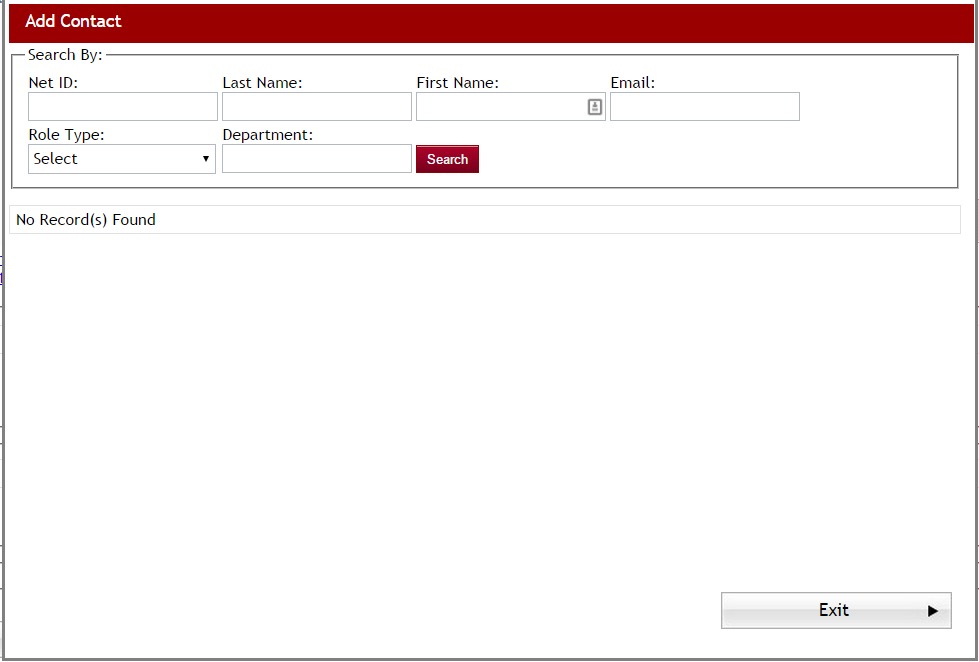
Important: Contacts must already have a user account set up in the system. If they do not have an account you must go to the User Setup and create an account for them, prior to adding them as the fund contact.
Step 3: Use the Search By: feature to search the Users table list for the contact you want to attach to this Funding Source fund (you can search on one or more of the search options available).
Step 4: A listing of names that meet the search criteria you selected will appear.
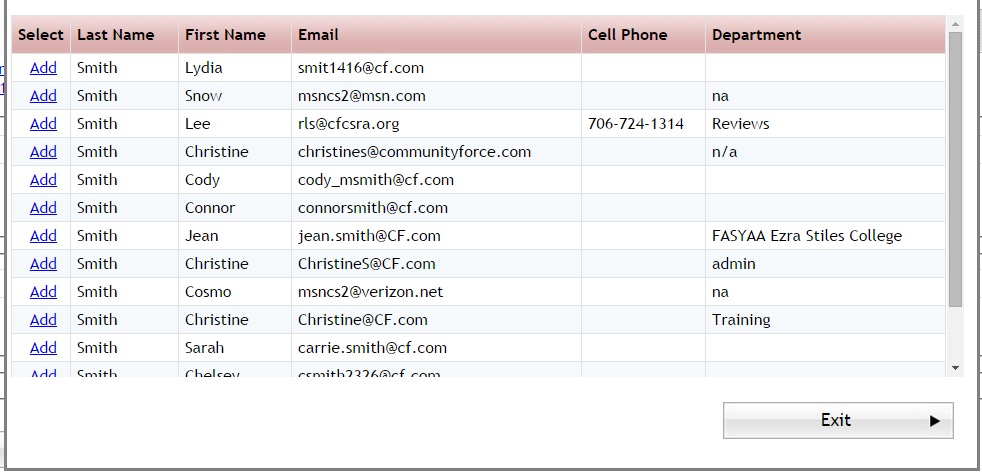
Step 5: Click the Add button next to the contact you want to add.
Step 6: You will receive a confirmation message saying that the Contact was added successfully. Click OK to confirm.

Step 7: The name will appear under the Contacts section.

Repeat these steps for each contact you want to add.
To remove a contact click the red “X” next to the name you would like to remove.
1.3 Adding a Donor to the Fund (Optional)
In order to use the Donor Feature in your funding source, your Global Admin must first select “Yes” for the Enable Fund Donor feature in the Administration>Site Settings: Grants/Fellowship Settings.
Once this feature is activated it can be accessed two ways:
When first creating your funding source and you click “Save and Next”, the Add a Contact Screen will appear, if activated, click Next on that screen. If it is not activated then the next screen will be the Add a Donor screen:

Existing Funding Source: When in the funding source listing click on the name of the funding source you want to add a donor to. Scroll to the bottom of the page to view the Add A Donor.

Exercise 1
Step 1: To add a donor click on the Add A Donor button.
![]()
Step 2: The Add/Edit Donor Screen will appear:
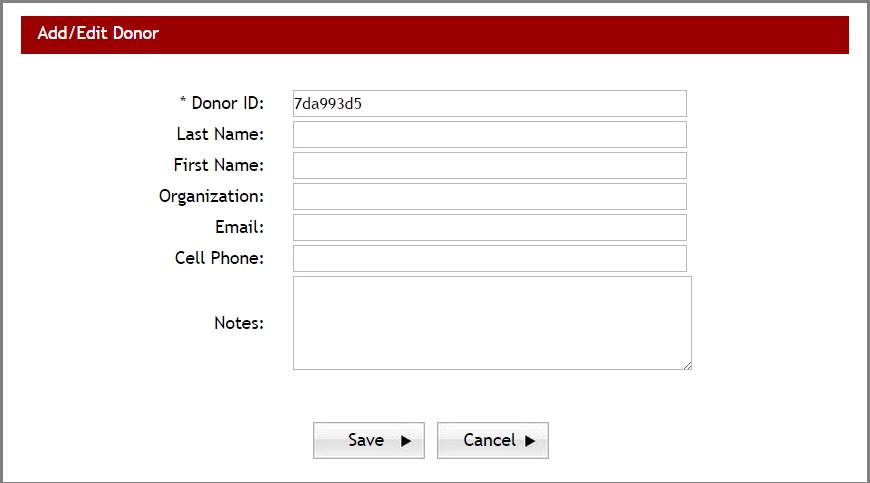
Step 3: Enter the donor information and click Save to save it to the Funding Sources/Funds.
Step 4: The donor’s information will now appear under the Donors Section for the funding source.

Repeat these steps for each Donor you want to add.
To edit the Donor information click on the ![]() Edit icon next to the donor’s name.
Edit icon next to the donor’s name.
To remove a contact click the red “X” next to the name you would like to remove.
1.4 Adding Search Filters for Fund (Optional)
This feature is used to help an applicant search for funds that they may be eligible for, prior to applying. This is helpful when you have multiple funding sources available for your applicants because it allows them to filter out only the funds they are eligible for, without having to scroll through and view multiple funds to find them.
Prior to setting up search filters specific to a funding source fund, global search filters must be created by the Global Admin under
Administration > Search Filters.
Search filter are organized into criteria groups. With each group containing the required values for that specific group.
If your organization has set up global search filters, when you are in the funding source setup for a specific fund, you will see a listing of all the available search filters to select under the “Search Filters” section.
If your organization is not using the global search filters, then this section will be empty and selection will not be available.
Once this feature is activated it can be accessed two ways:
When first creating your funding source and you click “Save and Next”, if activated, the Add a Contact Screen will appear, click “Next’ on that screen. Also, if activated, the Add a Donor Screen will appear next, click “Next” on that screen. You will now be at the Search Filters section. (If the Add Contact or Add Donor are not activated you will be go directly to the Search Filters Section.
Existing Funding Source: When in the funding source listing click on the name of the funding source you want to add a search filter to. Scroll to the bottom of the page to view the Search Filters.

When the list first appears all the search filter items will be blank in the Options Available column, if search filters have not been set on this fund.
Exercise 1
Step 1: Access the search filter section by using one of the methods mentioned above.
Step 2: You will need to set every search filter that is active and showing on the search filter listing.
On the filters that apply to your funds specific eligibility only select the correct replies to be eligible for that fund. The other search filters you would select “all” as they would all apply.
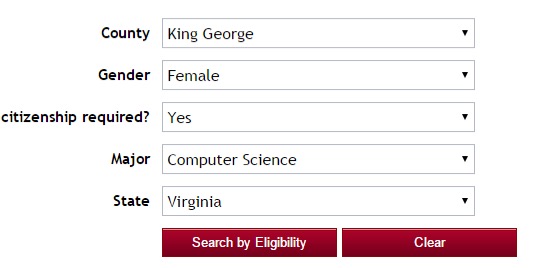
For example:
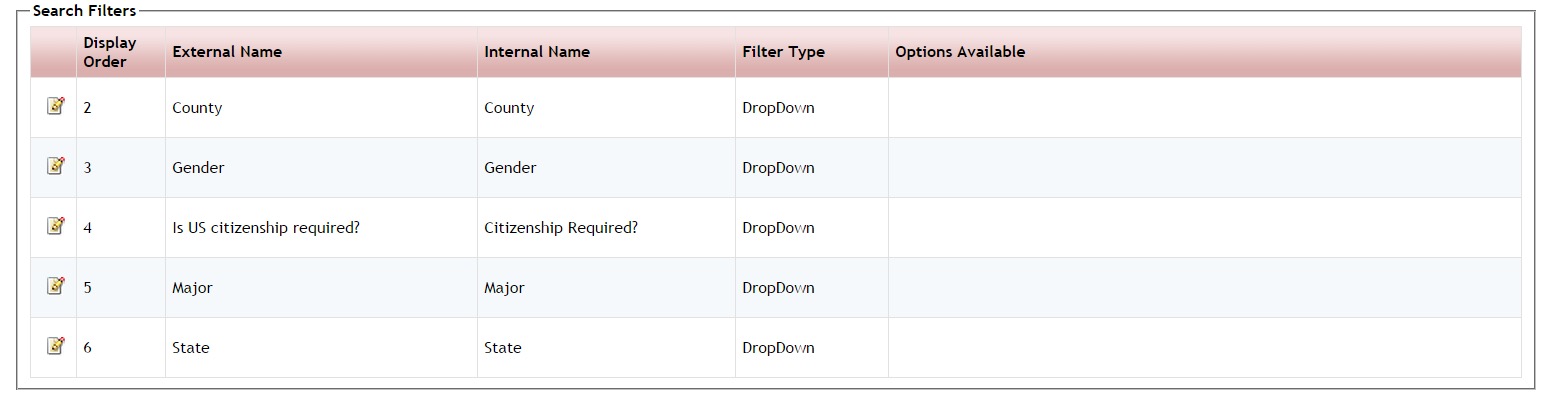
- Your funding source is for female applicants only. The following search filters are active:
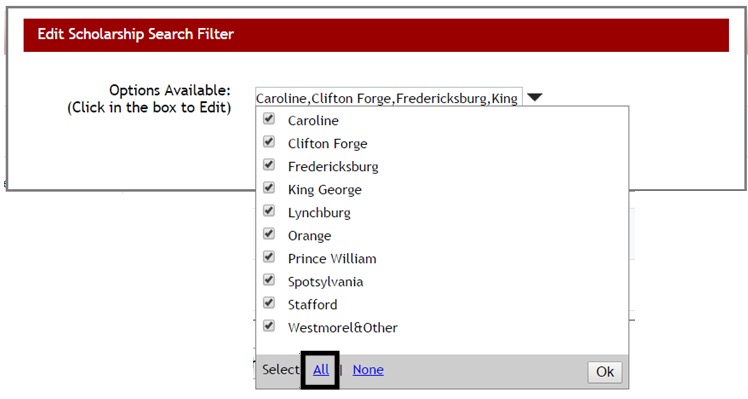
- County (select all)
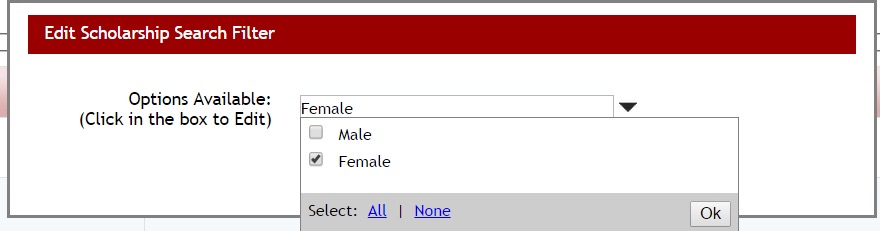
- Gender (select female only)
- Is Us Citizenship Required? (Select all)
- Major (select all)
- State (select all)
Step 3: Click on the Edit icon ![]() next to each of the search filters to set the values. The edit Search Filter box will appear.
next to each of the search filters to set the values. The edit Search Filter box will appear.
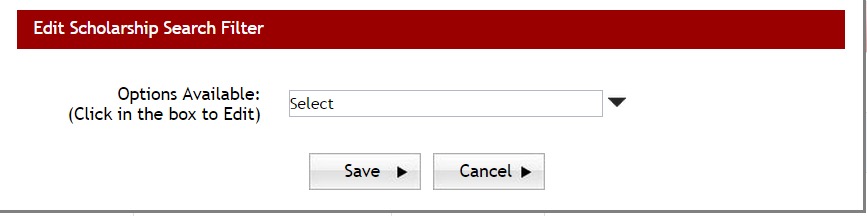
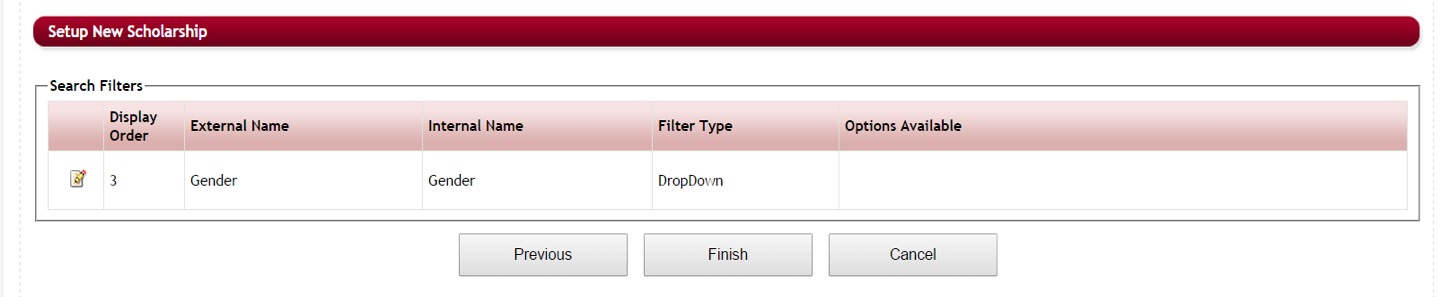
Step 4: In the “Options Available” click the drop down arrow to see the available replies that an applicant can search on to locate a funding source.
If all the replies are eligible for your funding source fund, select the “All” at the bottom of the drop down listing. All the values will then be marked with a check mark. Click OK to continue.
If only one of the replies is eligible, select only the eligible reply and click OK to continue.
Step 5: The selection(s) will now appear in the Options Available. Click Save to save the filters and return to the setup screen.

Step 6: The Search Filters section will now display all the selections for that filter.
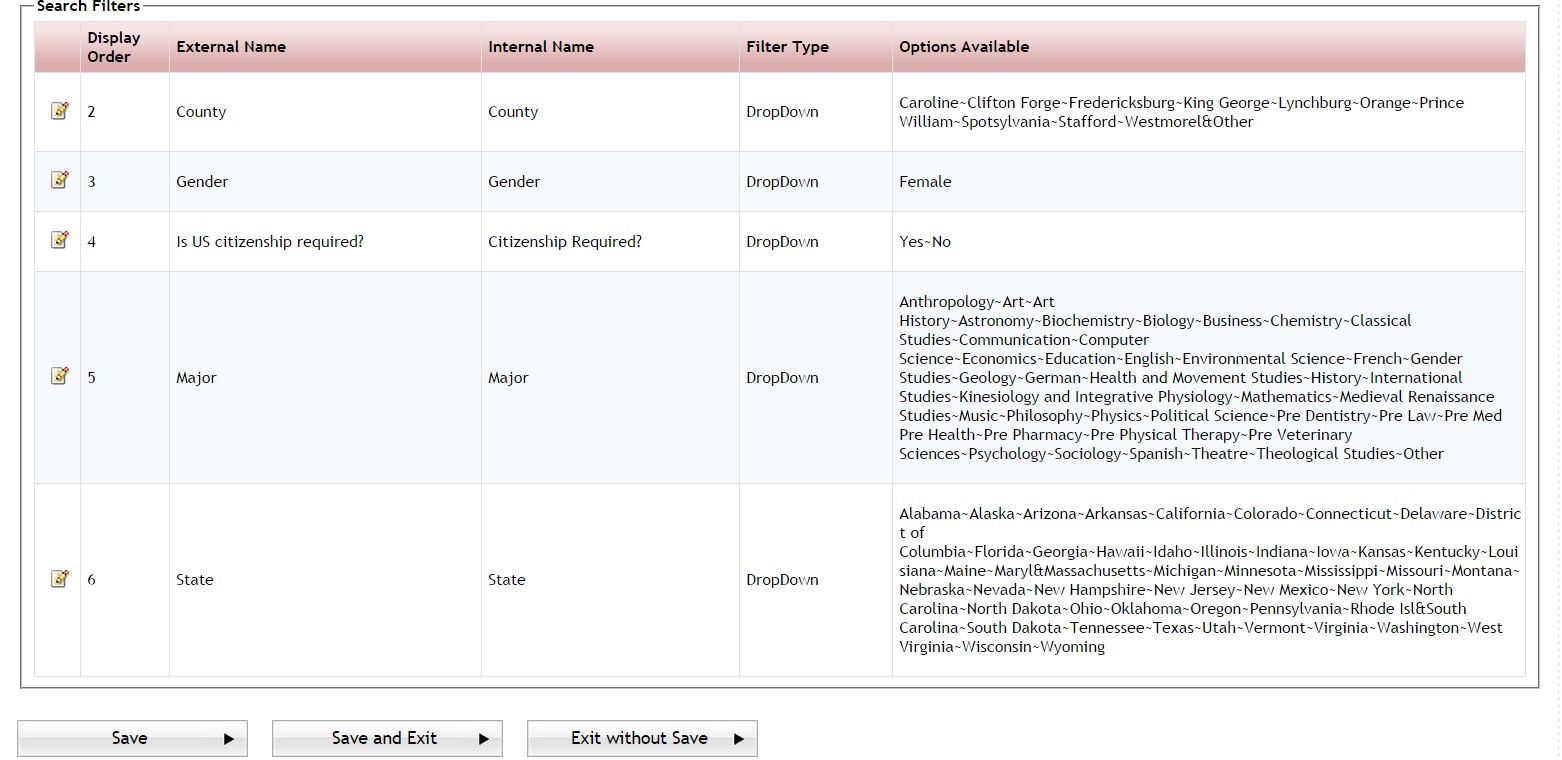
Step 7: Repeat these steps for every filter. Once all the filters are completed, Click Save or Save and Exit on the Fund setup page to save the information.
1.4.1 How does the applicant search using the search filters:
In order for the eligibility search filters to be viewable by the applicant the Global Admin will need to select “Yes” to the Enable Search by Eligibility Criteria in the Administration>Site Settings: General Settings section.
Once this is activated all the activated search filters will display on the applicant’s search screen for the applicant to search on.
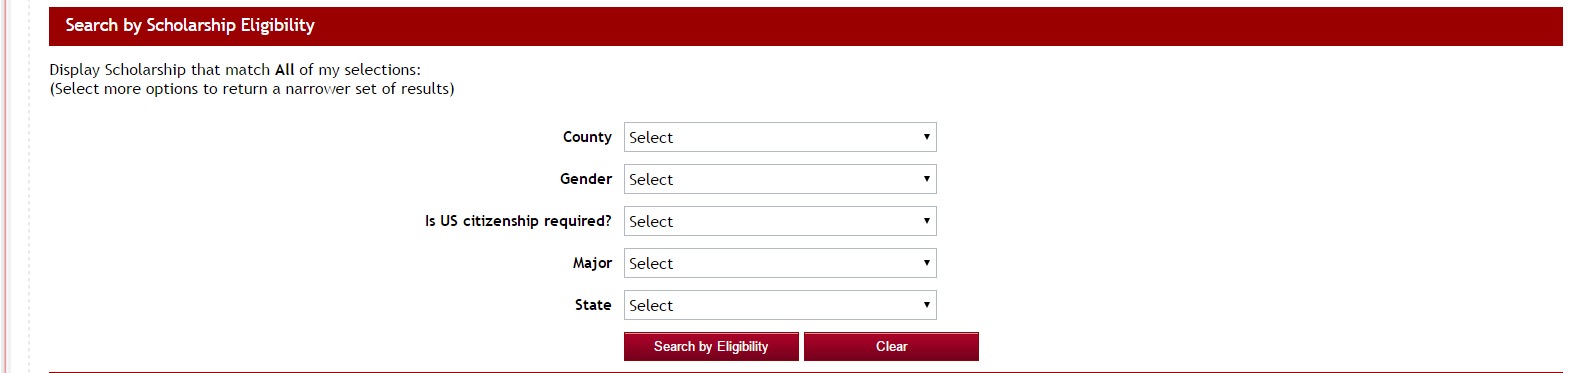
The applicant will select their search filters by clicking the drop down arrow selection for each filter and then click the Search by Eligibility button to search for those funds that meet the filters selected. They can also click clear to clear the selections and re-enter new filters.
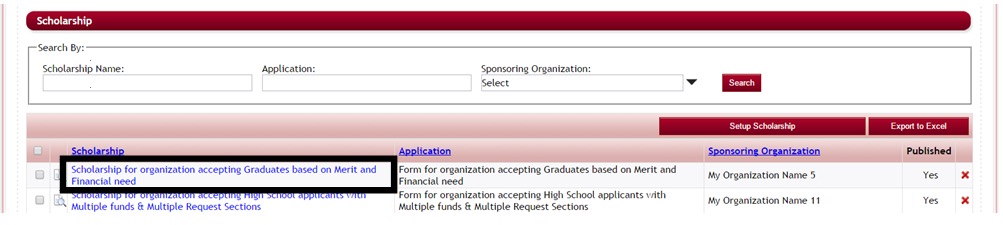
All the funds that match their selection will appear.

1.5 Editing Existing Fund
To edit an existing fund while in the Setup Funding Source listing click on the Name of the specific fund you wish to Edit. This will open up the Funding Sources/Funds Details page. Make any appropriate changes and click on Save or Save and Exit to save the changes.
1.6 How to Delete a Fund
To delete an existing fund, while in the Setup Funding Source listing click on the click on the red “X” at the end of the Funding Source fund you want to edit.
*Caution: Deleting a Funding Source fund will delete any information tied to the fund as well.
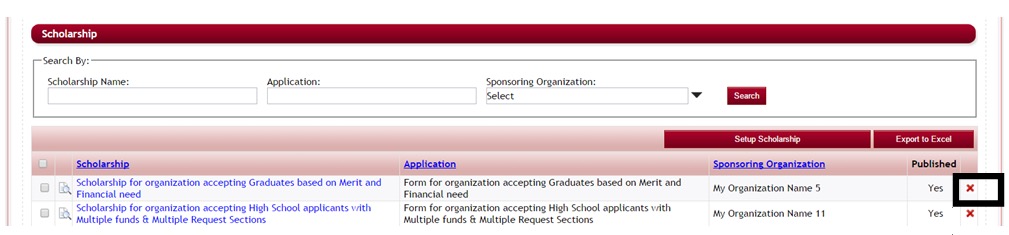
A confirmation message will appear, click yes to accept the deletion of the Funding Source fund.

1.7 How to Search for a Fund
While in the Setup Funding Source listing section, you can search for a specific Funding Source fund by using the Search By feature located at the top of the section.
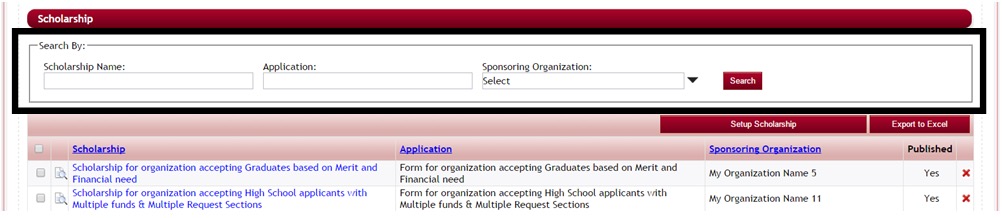
You can search by one or all of the search filters and click the Search button to locate the Funding Source fund.
- Funding Sources/Funds Name: Search the name of the Funding Source fund
- Application Name: Allows you to search for all Funding Sources/funds by the Application they are linked to.
- Sponsoring Organization: Allows you to search for funding sources by a specific sponsoring organization, showing only those funds that are for that organization.
1.8 How to Preview a Fund
You can preview how a Funding Source fund will appear to the applicant when they are viewing from the search screen or in matching fund areas.
While in the funding source setup listing, clicking on the Preview Icon next to the Funding Source fund you want to preview.
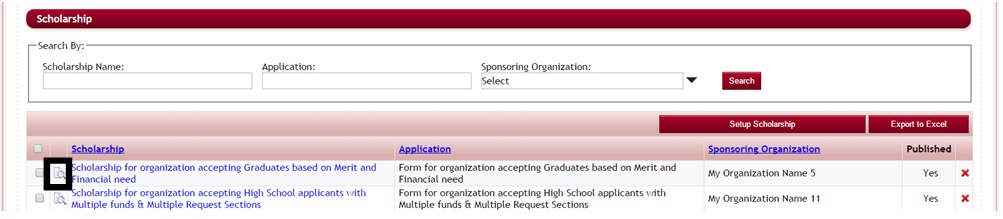
The View Funding Sources/Funds Details view will appear for you to preview.
1.9 How to Export the Funds Listing to Excel
If you would like an Excel spreadsheet report of all the Funding Sources/Funds you currently have set up in your program, click the Export to Excel button in the funding source listing section.

This will give open an Excel report showing the Funding Source fund Name, Application Form Name, Sponsoring Organization, if it is published, and the Annual Budget.
