1.4 Entering a Support Ticket
Exercise 1
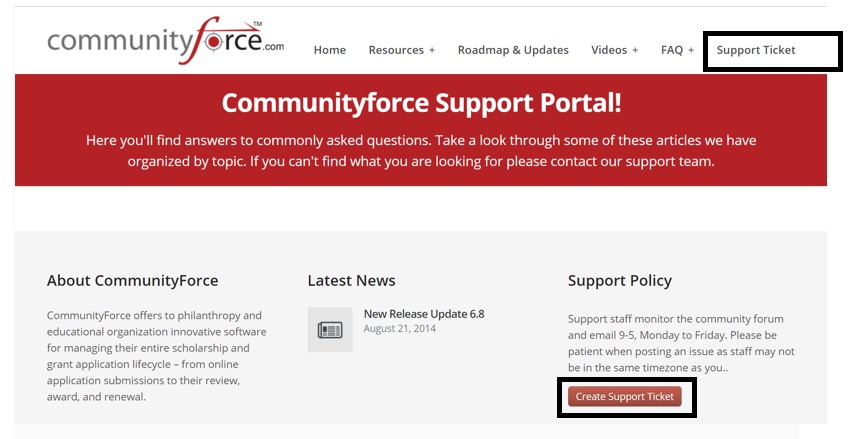
Step 1: While in the Support Portal’s home page you can click on the Create Support Ticket Button or click on the Support Ticket Tab at the top of any page in the support portal.
![]()
Step 2: This will direct you to https://communityforce.zendesk.com/ login in page.
Note: You must have an account with our Client Support Portal to access the Help Center and submit a ticket for assistance. When your Help Center account is generated you will receive an email asking to verify and set up your password. We set this up for you at the time of your site delivery. Please contact us if you have not received an email with access to the Zendesk Client Portal.
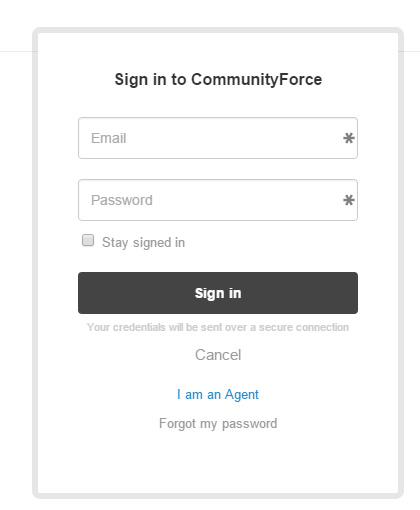
Step 3: Login in using your Zendesk account credentials.
Step 4: Click on the Submit a Request (ticket) at the top of the page to add a new ticket.
Note: When entering your support ticket please include the following items in your ticket description:
- Site URL
- Application form or Funding source you are referring to
- The Section and Question you’re inquiring about
- Who it is in your organization that is needing the assistance.
- Good detailed explanation of your question and what you need assistance on. If at all possible try to include screen shots of the area you need assistance on.
Step 5: Enter your Subject and the Description of the request.
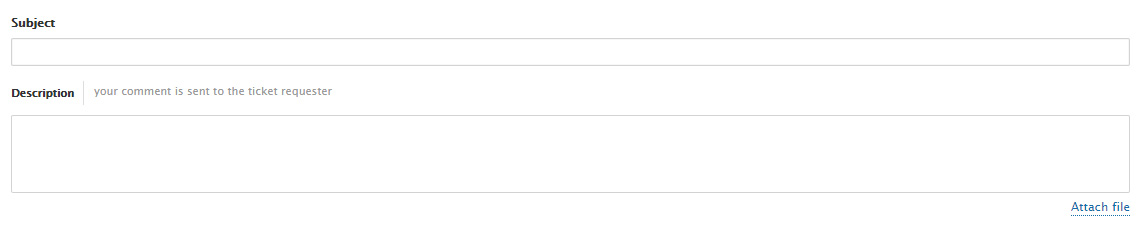
Step 6: Click on the Attach file to attach any documentation or screen shots regarding the request.
Step 7: Click Submit to submit the request.