Used for setting Single Sign-on (SSO) Authentication for clients using External System Authentication with third party sites (i.e. SAML, LDAP). It lets end users login to CommunityForce from their organization’s portal page, without having to create new credentials or re-login to the CommunityForce system.
If you wish to integrate to an external system please contact CommunityForce for assistance.
Note: If you are not using an External System Authentication to have your applicants log in in to the CommunityForce site, then you will not need to set up this functionality.
8.1 External System Authentication Settings Setup
Exercise 1
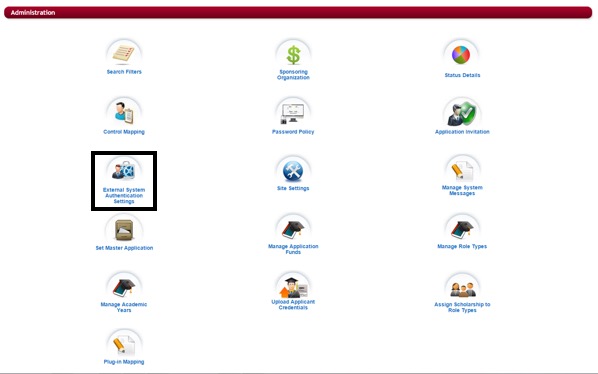
Step 1: From the Administration Dashboard click on the External System Authentication Settings Icon.
Step 2: When you click on the External System Authentication Settings icon from the Administration Dashboard the following screen will appear.
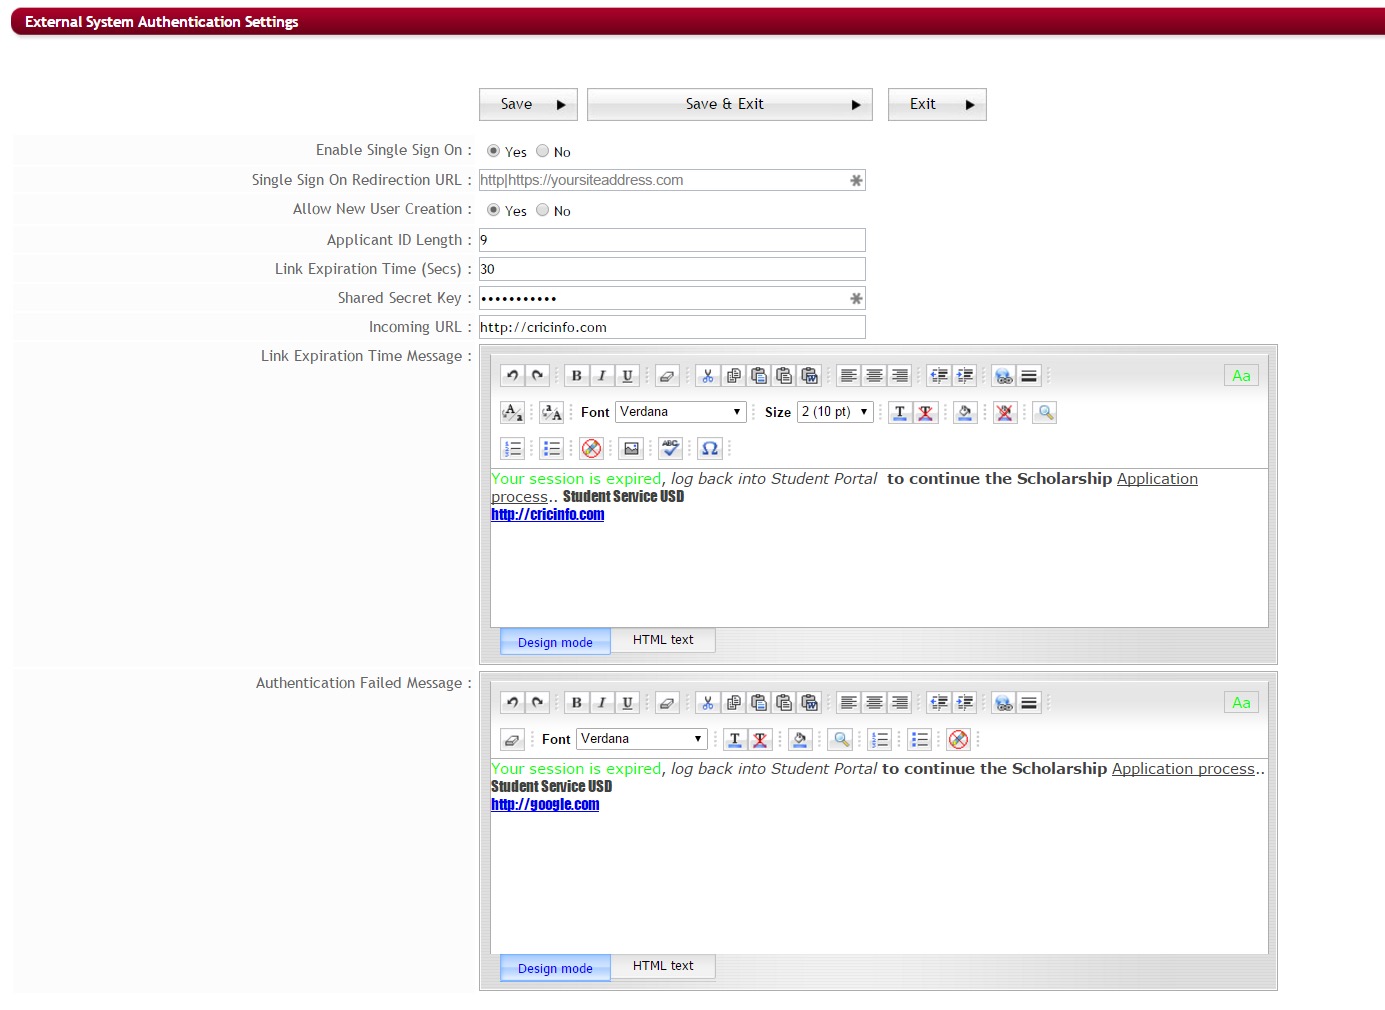
Step 3: Enable Single Sign On – Set your Enable Single Sign On to “Yes”. This Activates the Single Sign On authentication. – Yes-Enabled, No-Default not enabled.
Step 4: Single Sign On Redirection URL – Enter the URL of your site address, which is the URL that the applicant will be redirected to.
Step 5: Allow New User Creation – There may be occasions, where, a user is currently present on the client’s site but may not have had their credentials pushed down to the CommunityForce system. In that instance, the Allow New User Creation allows client to decide if they will allow the CommunityForce system to create new users that are currently in their site, onto the CommunityForce system. Yes-will allow the new users to be created. No-will not allow the new user creation.
Note: This will also activate the ability to login as a member or non-member of your organization and will add those option buttons to the login in screen that is accessed directly in the Communityforce site.
Step 6: Applicant ID Length – Set theLength of the ID that client’s organization allows in their system, enter the number of how many characters are allowed.
Step 7: Link Expiration Time (Secs) – Set the length of time in seconds that the Single Sign-On session will timeout if not connected to the CommunityForce system. When both the application session and the Single Sign-On session timeout, the user will be directed to the Single Sign-On login page to re-authenticate.
Step 8: Shared Secret Key – Enter the Shared Secret Key. Both CommunityForce and the client will use the same key, which will send a user to the CommunityForce system and in reverse CommunityForce will be using the same key to confirm the user as the client’s user. This provides a safe encryption by verifying that the token comes from a trusted source.
Step 9: Incoming URL: Enter the URL for the Incoming URL. This is theURL Portal Page that the user will be using to log into the CommunityForce system. The Internal login page.
Step 10: Link Expiration Time Message –Enter the message that you want your users to see. This is a customizable message the user will see when the session has expired due to the Link Expiration Time being reached as set in the Link Expiration Time.
Step 11: Authentication Failed Message –Enter the message that you want your users to see. This is a customizable message the user will see when the Authentication failed.
Design mode –The editor box works similar to Microsoft Word. Type the information into the body of the editor just as you would be typing and formatting a Microsoft Word document using the tools present in the editor box.
HTML Text –You can switch to HTML text and create your message using HTML tags with the content and it will display the content and tags as you format. Switch back to Design mode to preview.
Step 12: Save – Once you have completed entering the information above, click on Save to remain on the page, or Save & Exit to save the data and return to the Administration Dashboard.
Exit – Exit’s to the Administration Dashboard without changing data.